【AWS】AWS Amplifyを使い、フロントエンドでデータの一覧表示、作成、削除、更新する
前回は、AWS AppSync を、フロントエンドと統合しました。
【AWS】AWS AppSyncを、フロントエンドと統合する
今回は、フロントエンドでデータ一覧の画面表示、作成、削除、更新します。
GraphQL で取得したデータ一覧を画面に表示する
まずは、ブラウザに GraphQL で取得したデータ一覧を表示させます。
データの型を作成しましょう。
mapを使って、booksのデータを表示させます。
isReadがtrueの場合、『済』、falseの場合、『未』を表示するようにします。
bookに、先程作成したBook型を指定しましょう。
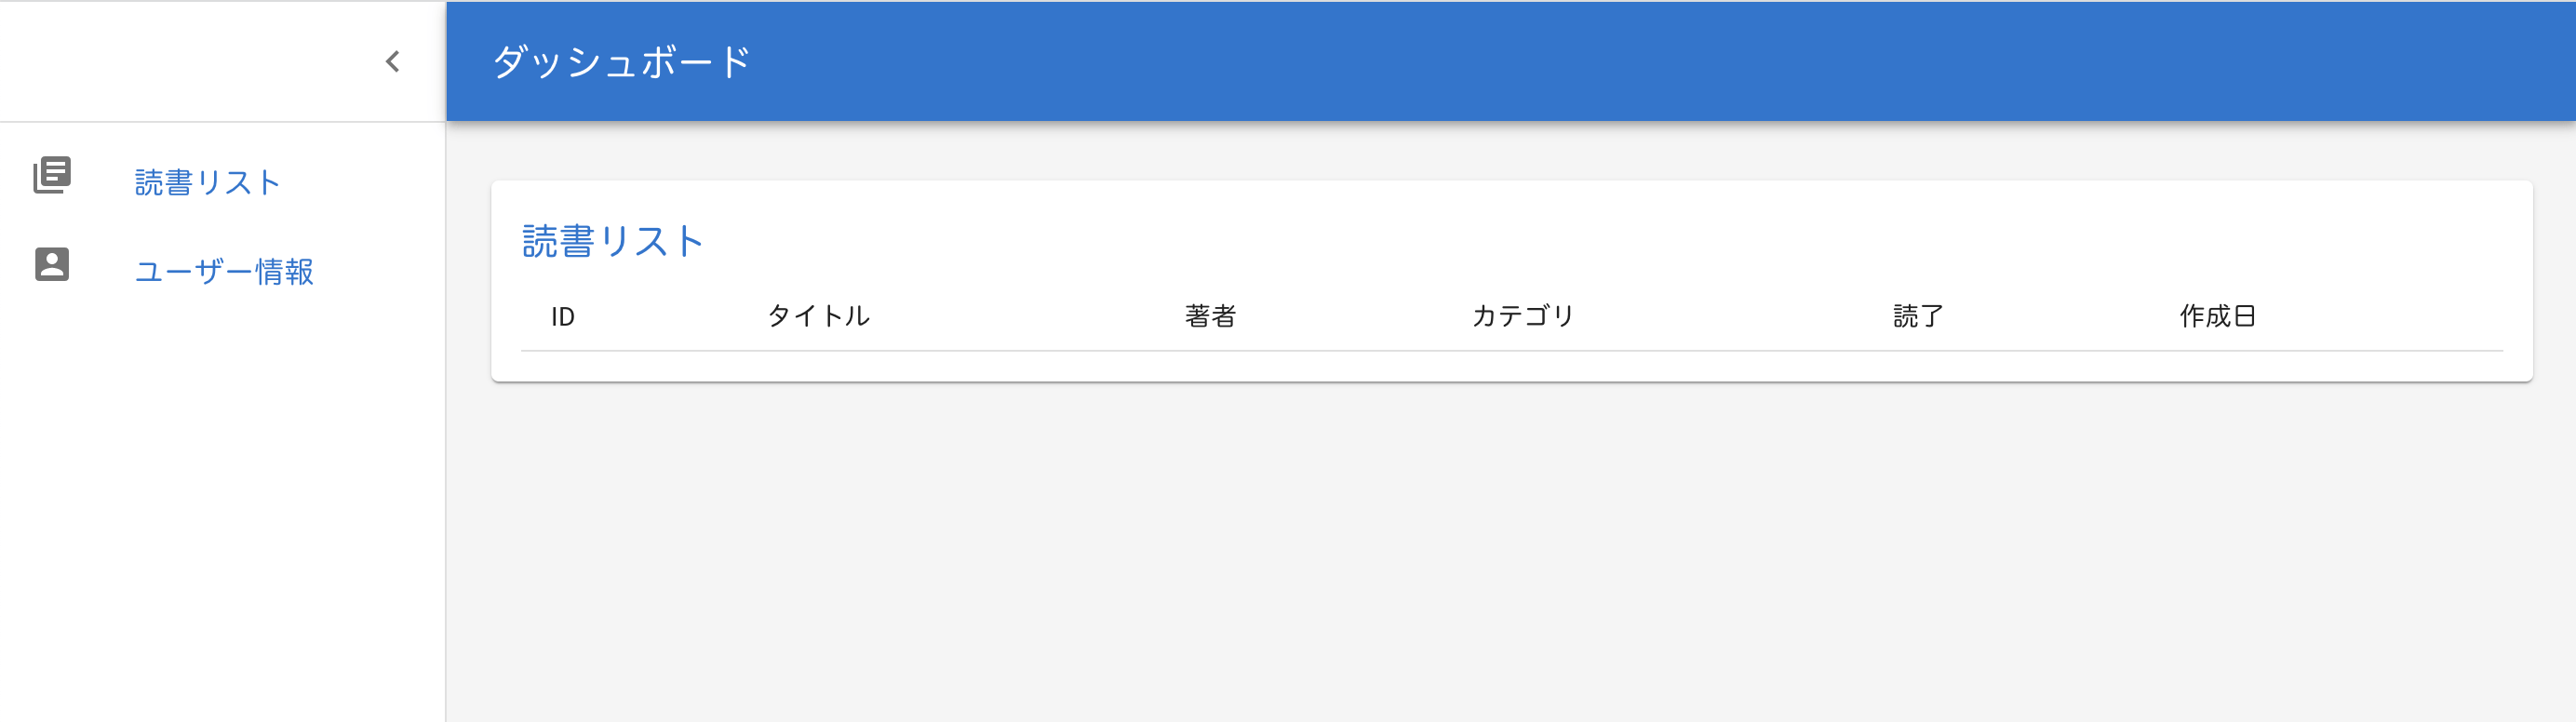
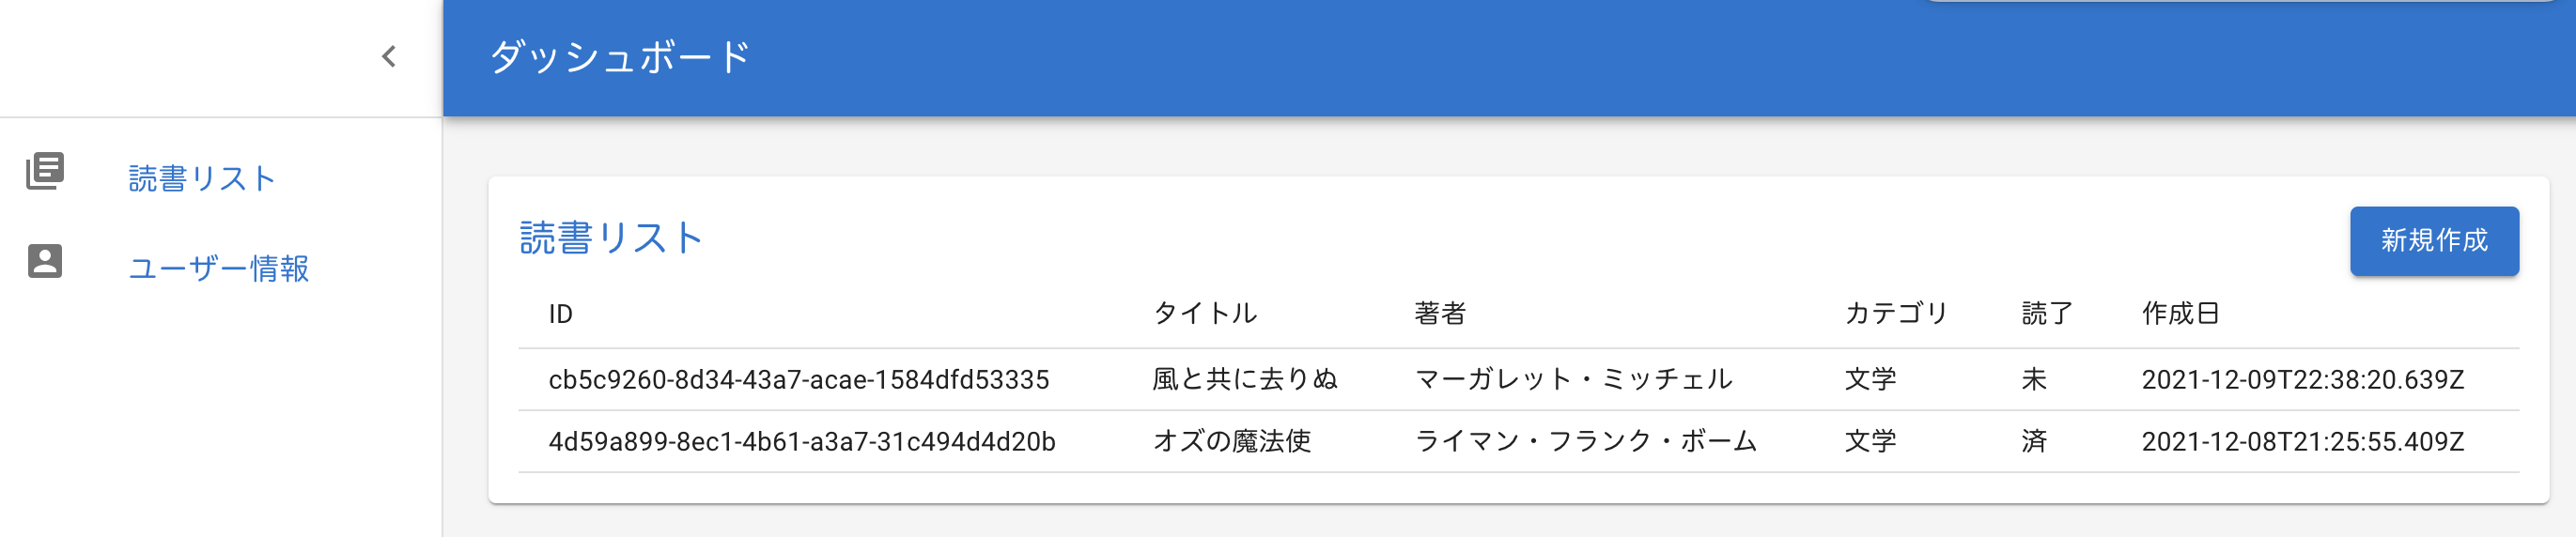
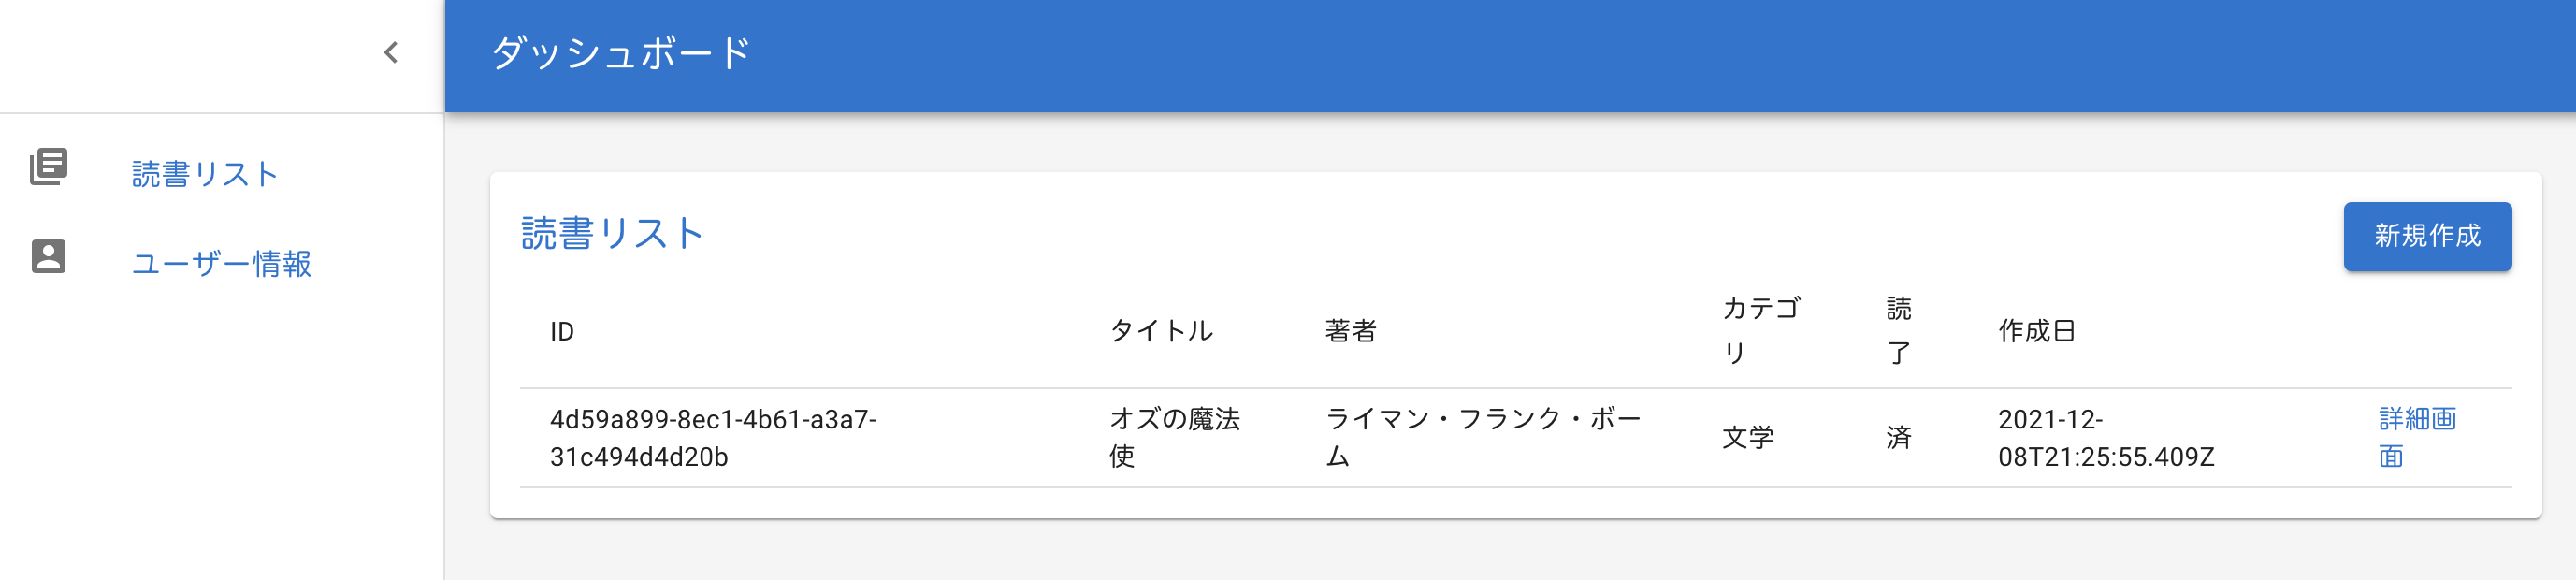
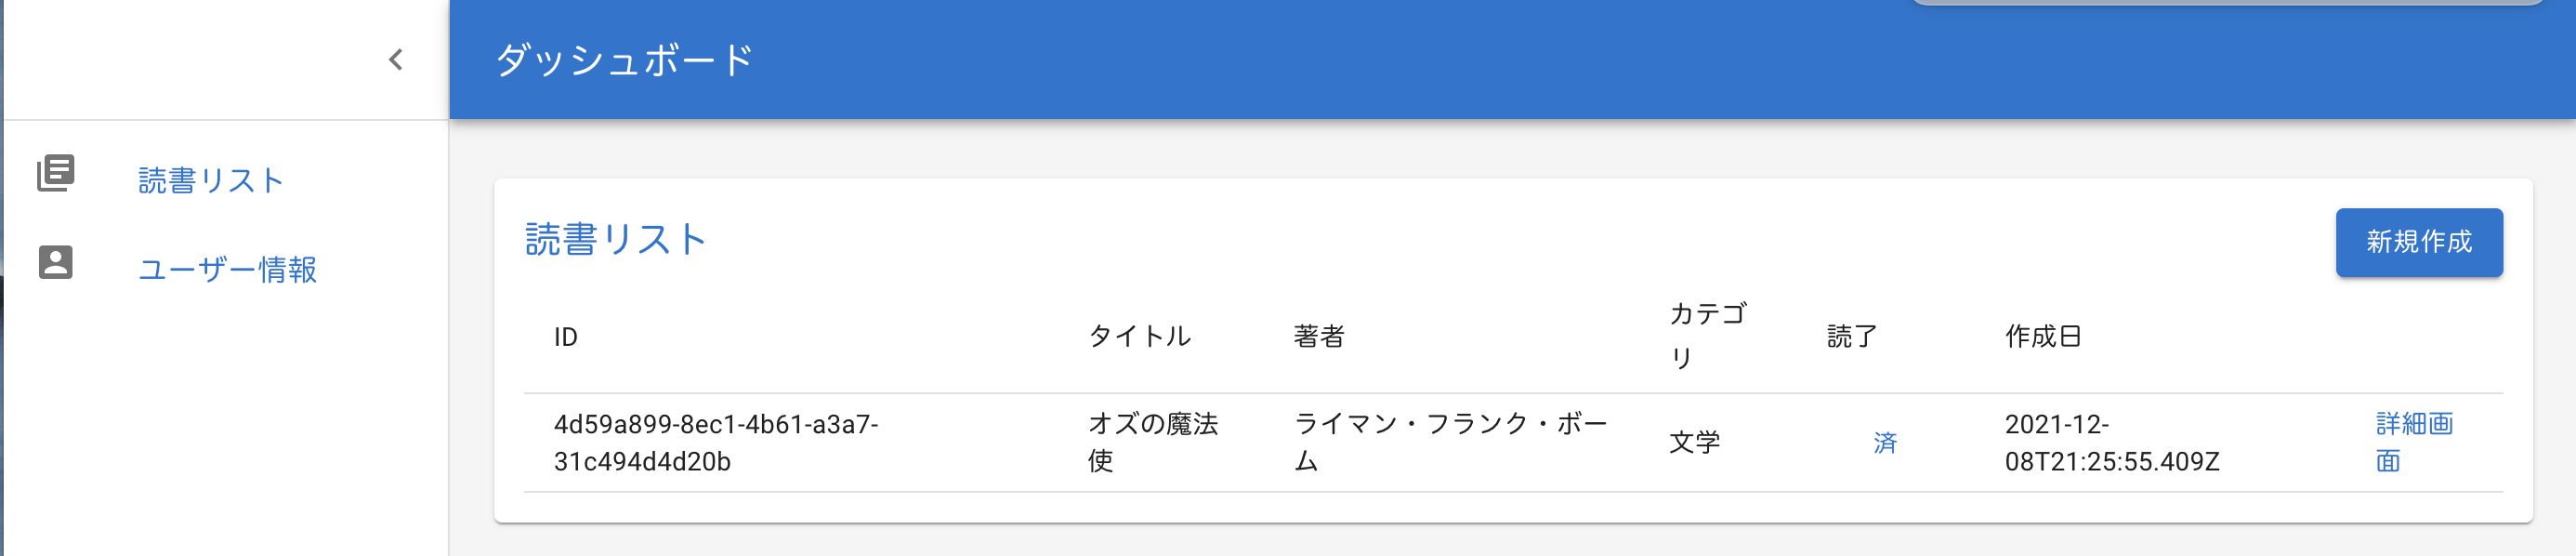
ブラウザで確認すると、
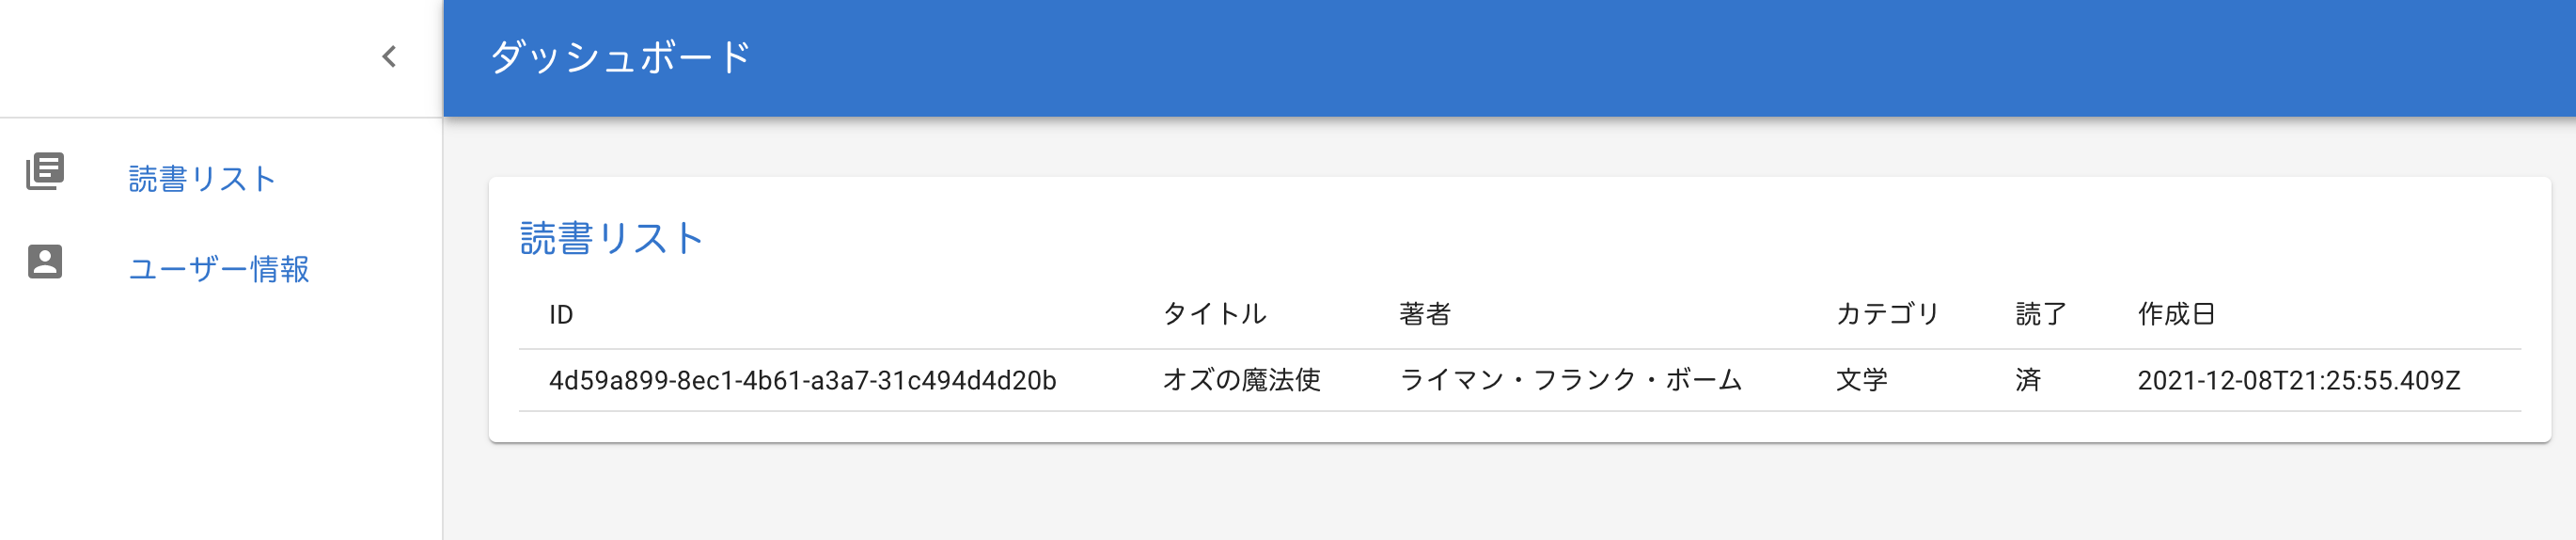
データを表示することができました。
console.log で確認すると、book データを全て取得しています。
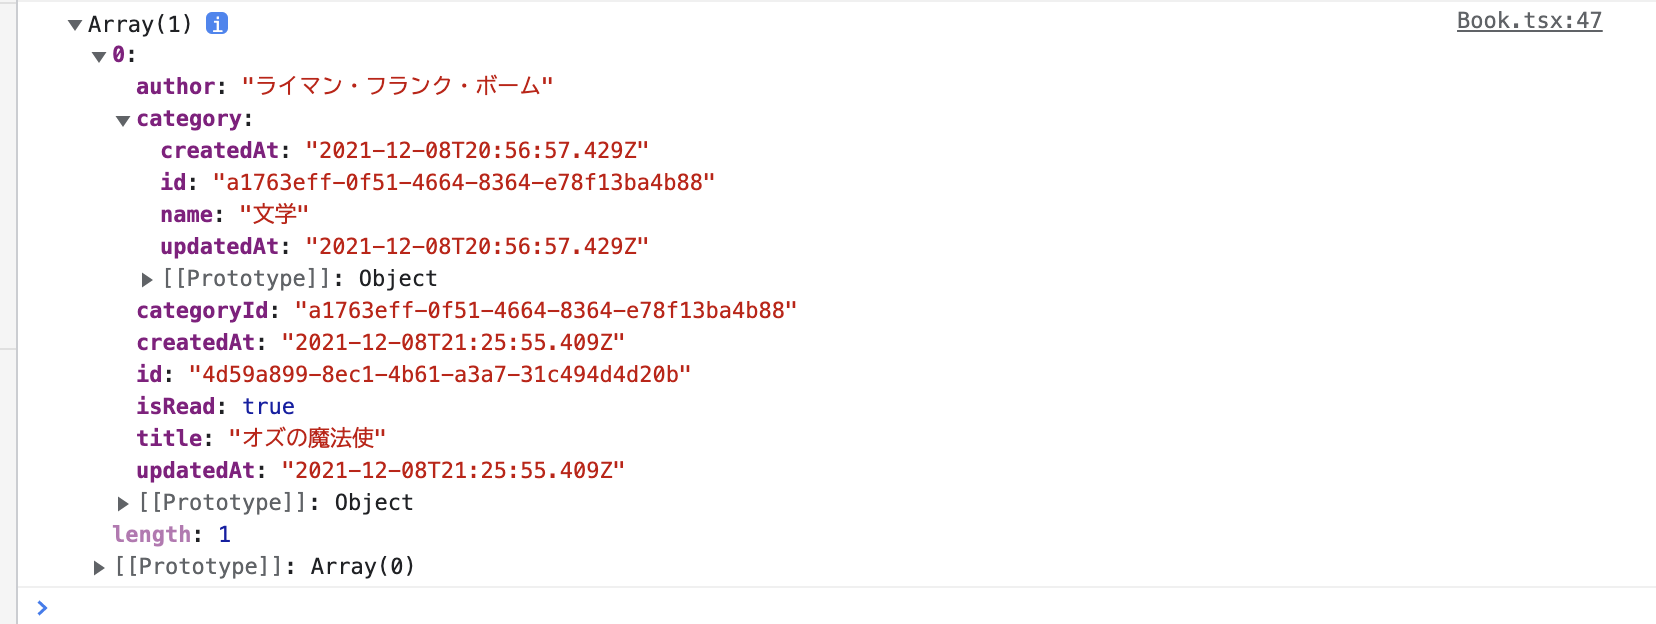
category の id や updatedAt などは必要ないので、取得しないようにしましょう。
src/graphql フォルダの queries.ts を開きます。
listBooksのitemsの内容を必要なデータだけ取得するよう、修正しましょう。
保存して、console.log で確認すると、
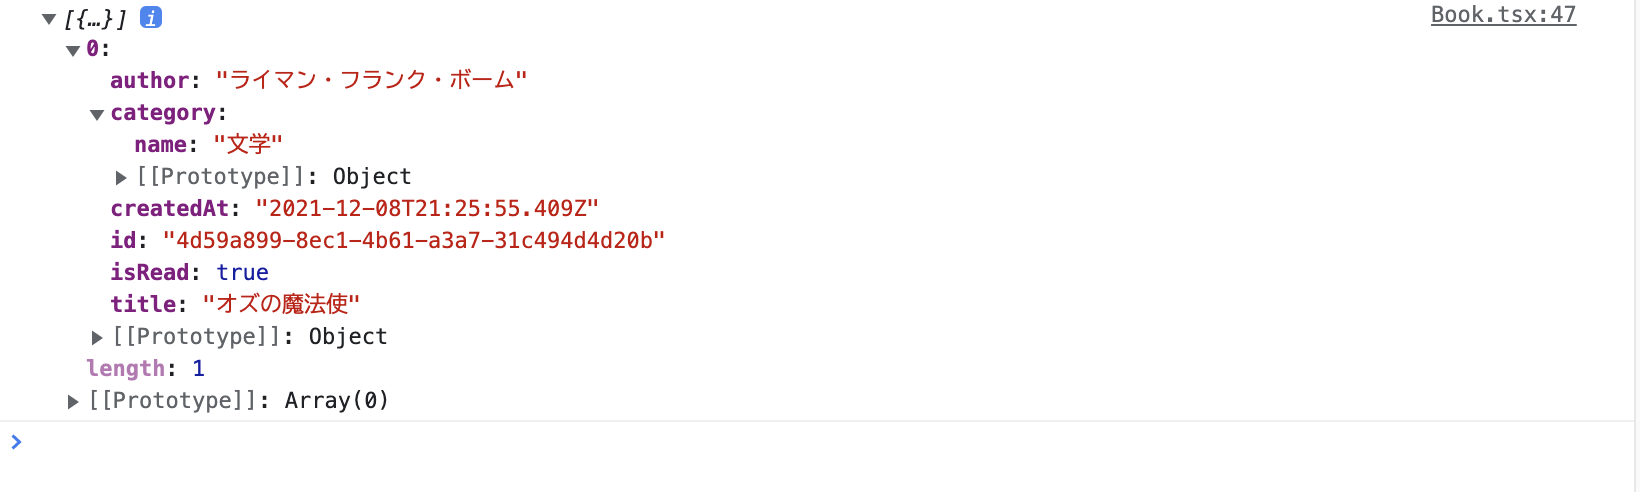
必要なデータのみ取得することができました。
データを作成し、AWS に登録する
次は、データを作成してみます。
読書リスト画面から、『新規作成』ボタンをクリックすると、モーダルが開き、データを作成できるようにします。
components フォルダに、ModalBook.tsx と、AddBook.tsx を作成します。
UI は、MUI( https://mui.com/components/modal/ 、 https://mui.com/components/text-fields/)を参考にしました。
AddBook.tsx
ModalBook.tsx
読書リスト画面で新規作成ボタンを追加します。

AddBook.tsx で、カテゴリを選択できるようにします。
Book.tsx と同様に、ams-amplifyとawsExprtsをインポートして、AWS AppSyncと連携します。
カテゴリを取得できるようにクエリをインポートしましょう。
useStateでcategoriesの状態を管理します。
fetchCategoriesを作成し、useEffectで呼び出すようにします。
category の型を指定しましょう。
リストとして、表示できるようにします。
ブラウザで確認すると、
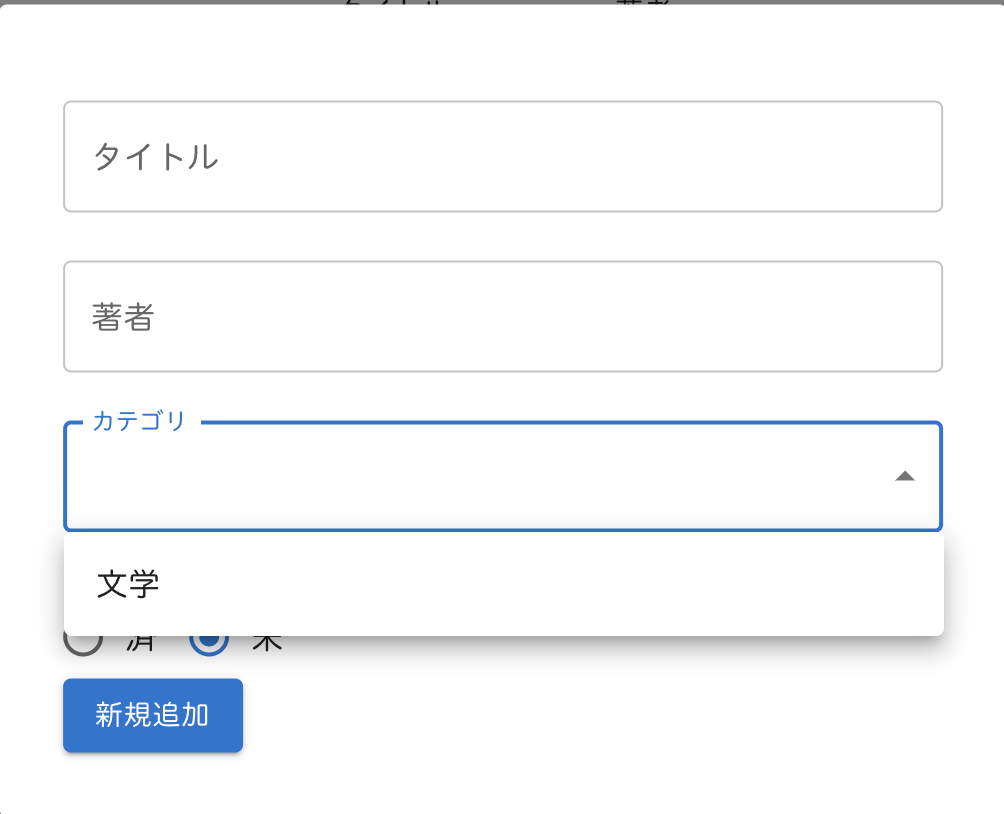
フォームが作成でき、カテゴリの選択ができました。
『新規追加』ボタンをクリックすると、データを登録できるようにします。
src/grqphql フォルダの mutations.ts から、createBookをインポートします。
『新規追加』をクリックした後のアクションは、handleClickで操作します。
まずは、JavaScript の不要な挙動を防ぐために、event.preventDefaultを指定しましょう。
mutations.ts を見てみると、データを作成する場所は、input になっています。
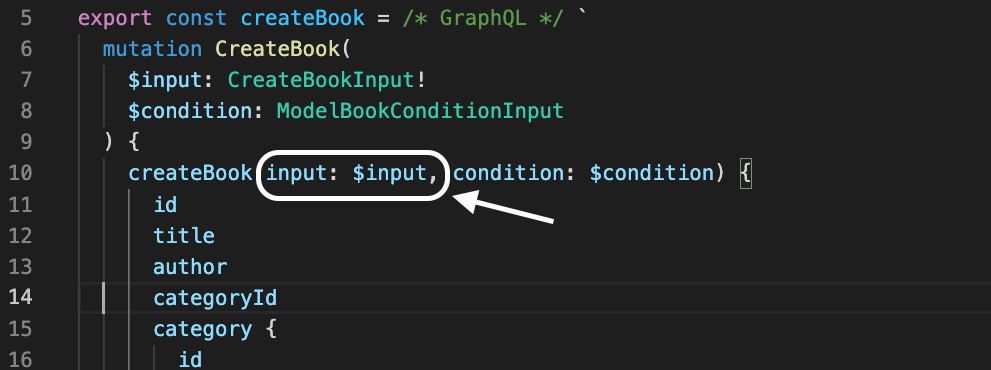
input に title、author、categoryId、isRead が入るようにします。
APIのgraphqlOperationを使って、createBookにinputを登録できるようにします。
では、データを登録してみます。

『新規追加』ボタンをクリックして、モーダルを閉じると、
新規追加したデータが登録できていました。
特定のデータを取得する
次は、詳細画面へ遷移し、特定のデータを表示させます。
まずは、詳細画面を作成します。
BookDetail.tsx
読書リスト画面で、『詳細画面』ボタンを作成します。
Book.tsx
App.tsx で Route を設定しましょう。
一度、ブラウザで画面遷移を確認します。
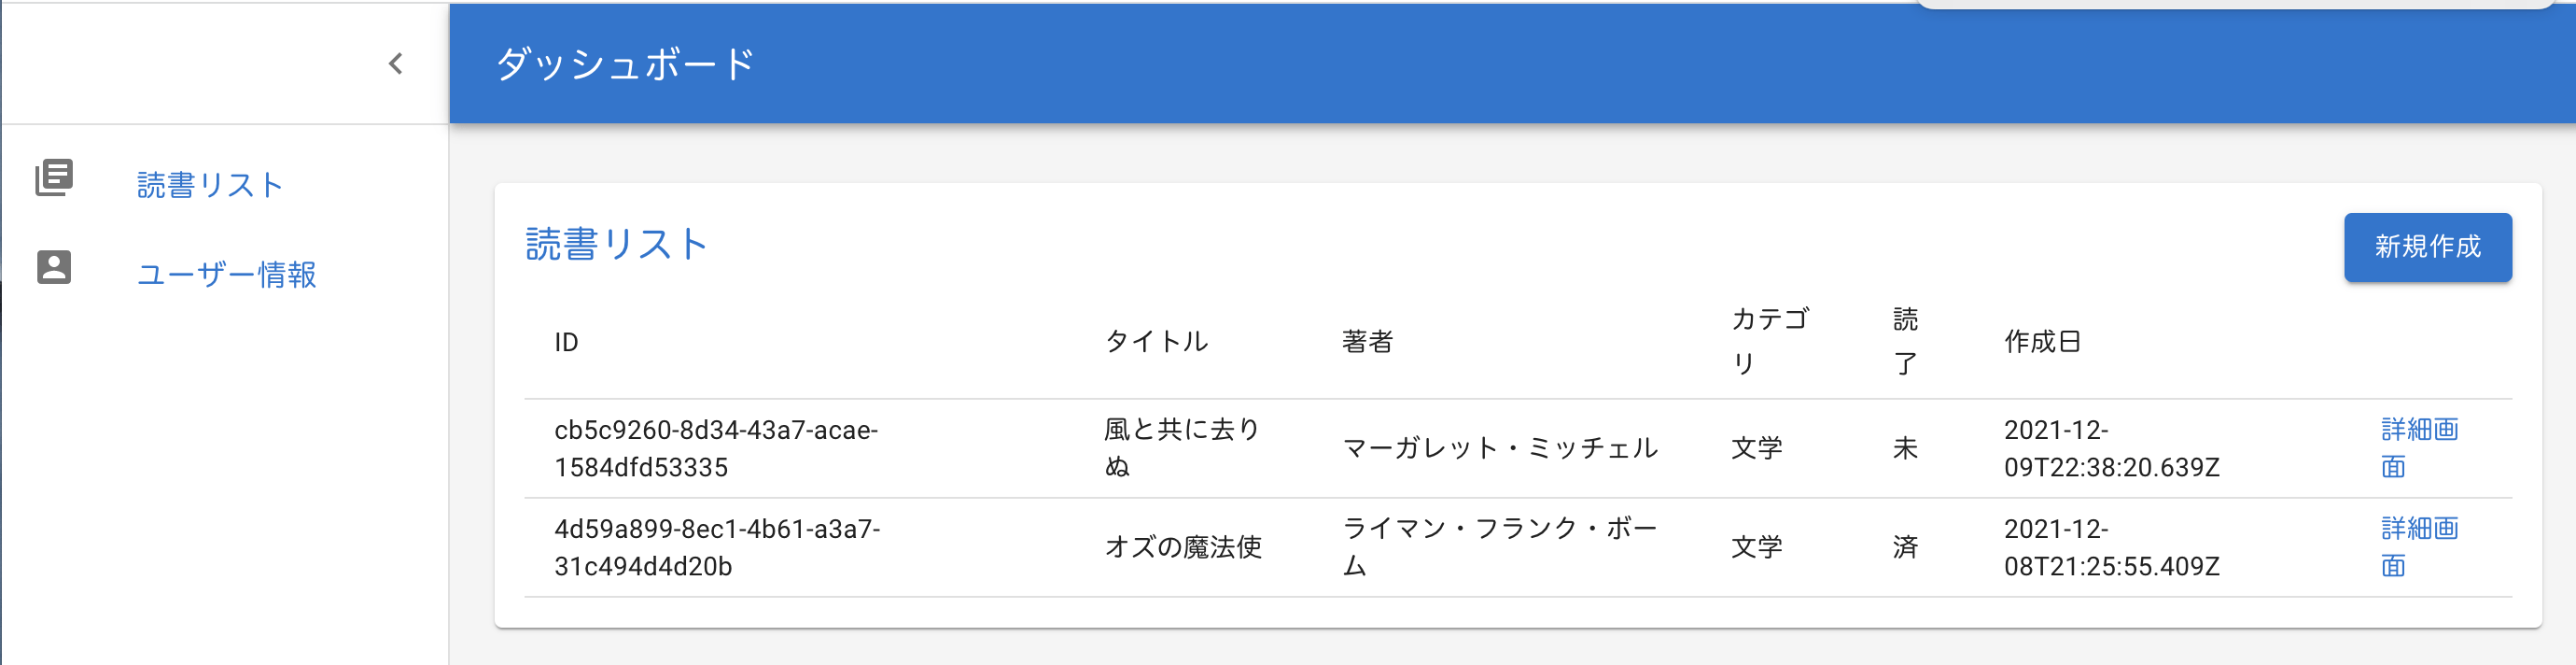
『詳細画面』をクリックすると、
BookDetail 画面へ遷移することができました。
ここから、GraphQL で、特定のデータを取得します。
book の型を設定します。
book を useState で管理します。
Book.tsx と同様に、ams-amplifyとawsExprtsをインポートして、AWS AppSyncと連携します。
getBook をインポートします。
fetchBook を作成します。
src/graphql の queries.ts にあるgetBookを確認すると、idを指定することで特定のデータを取得できるようです。
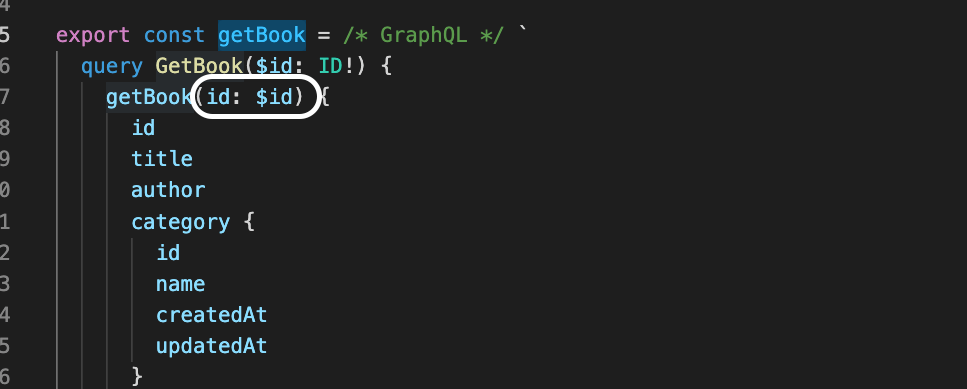
graphqlOperationには、getBookとidを指定します。
useEffectを設定します。
CardContentの中身を設定しましょう。
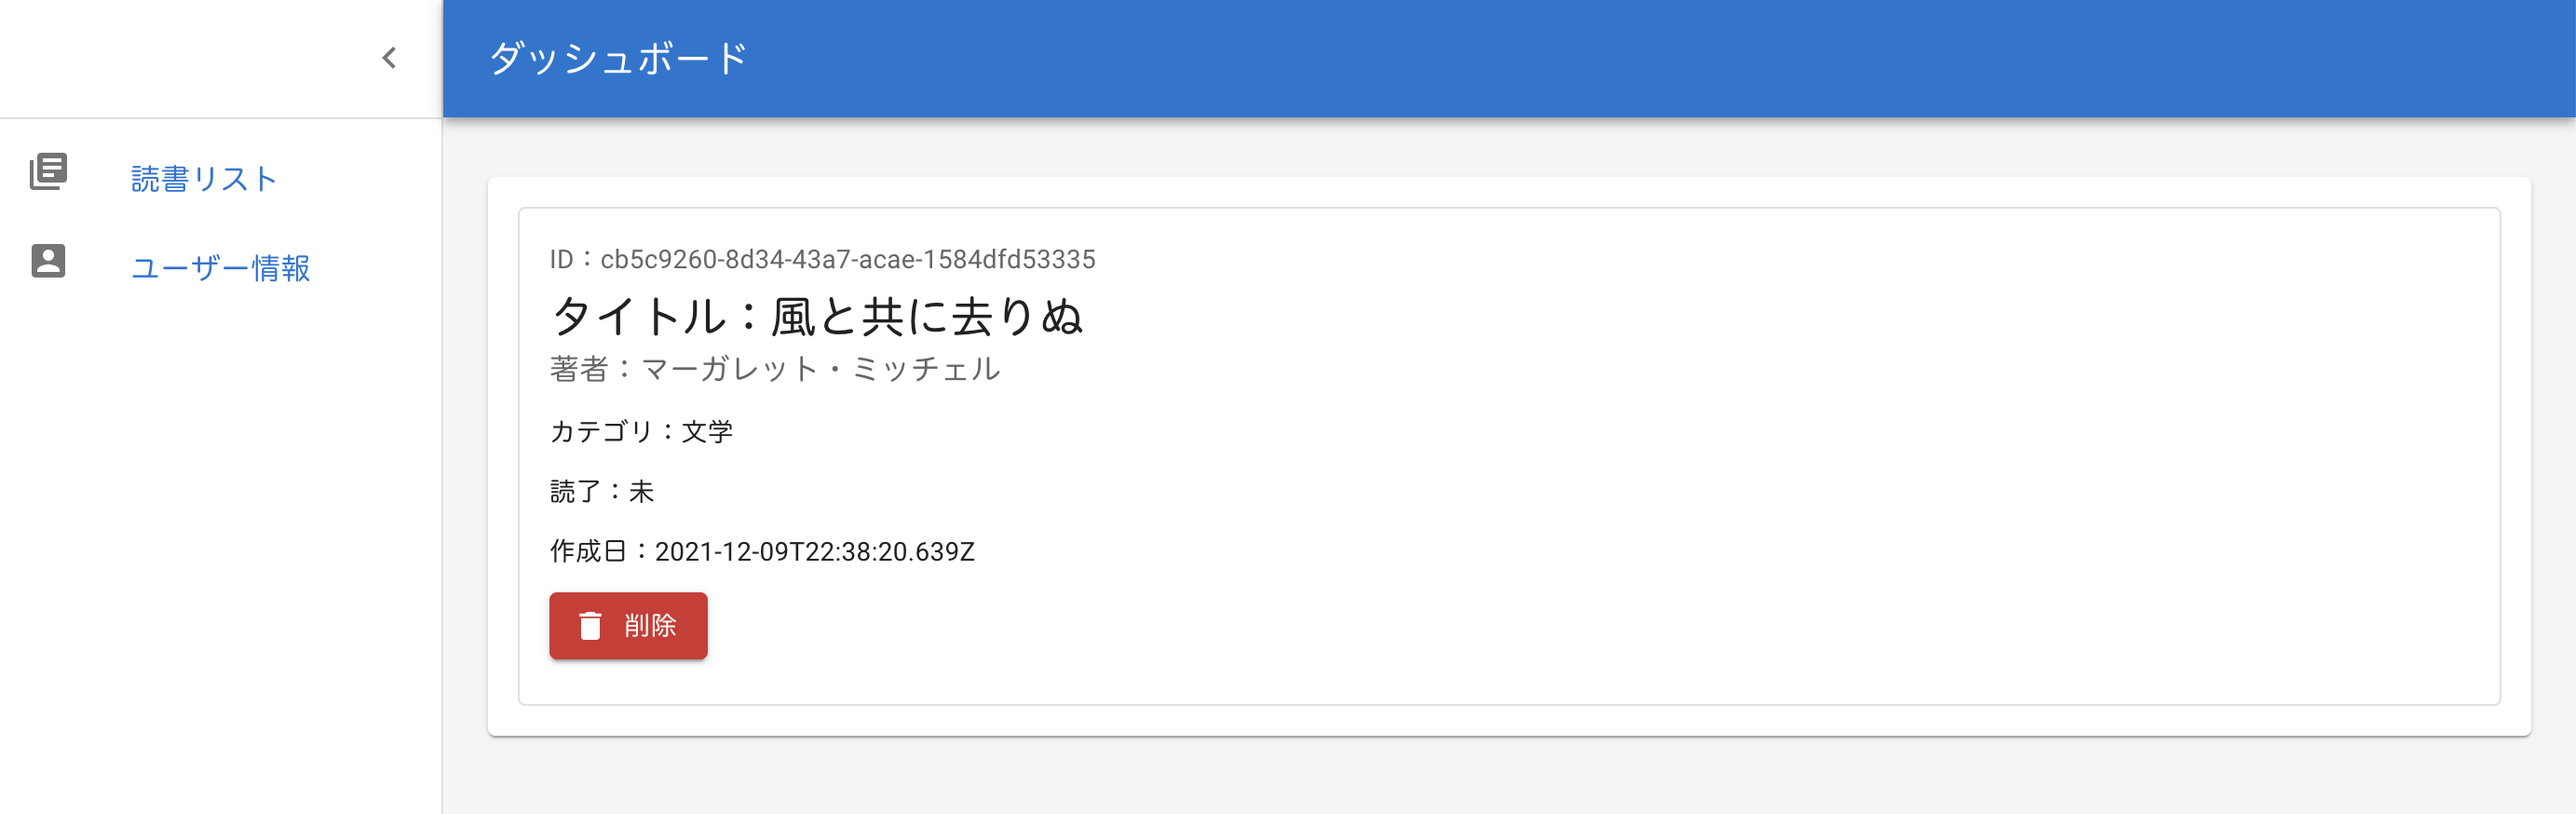
ブラウザで確認すると、
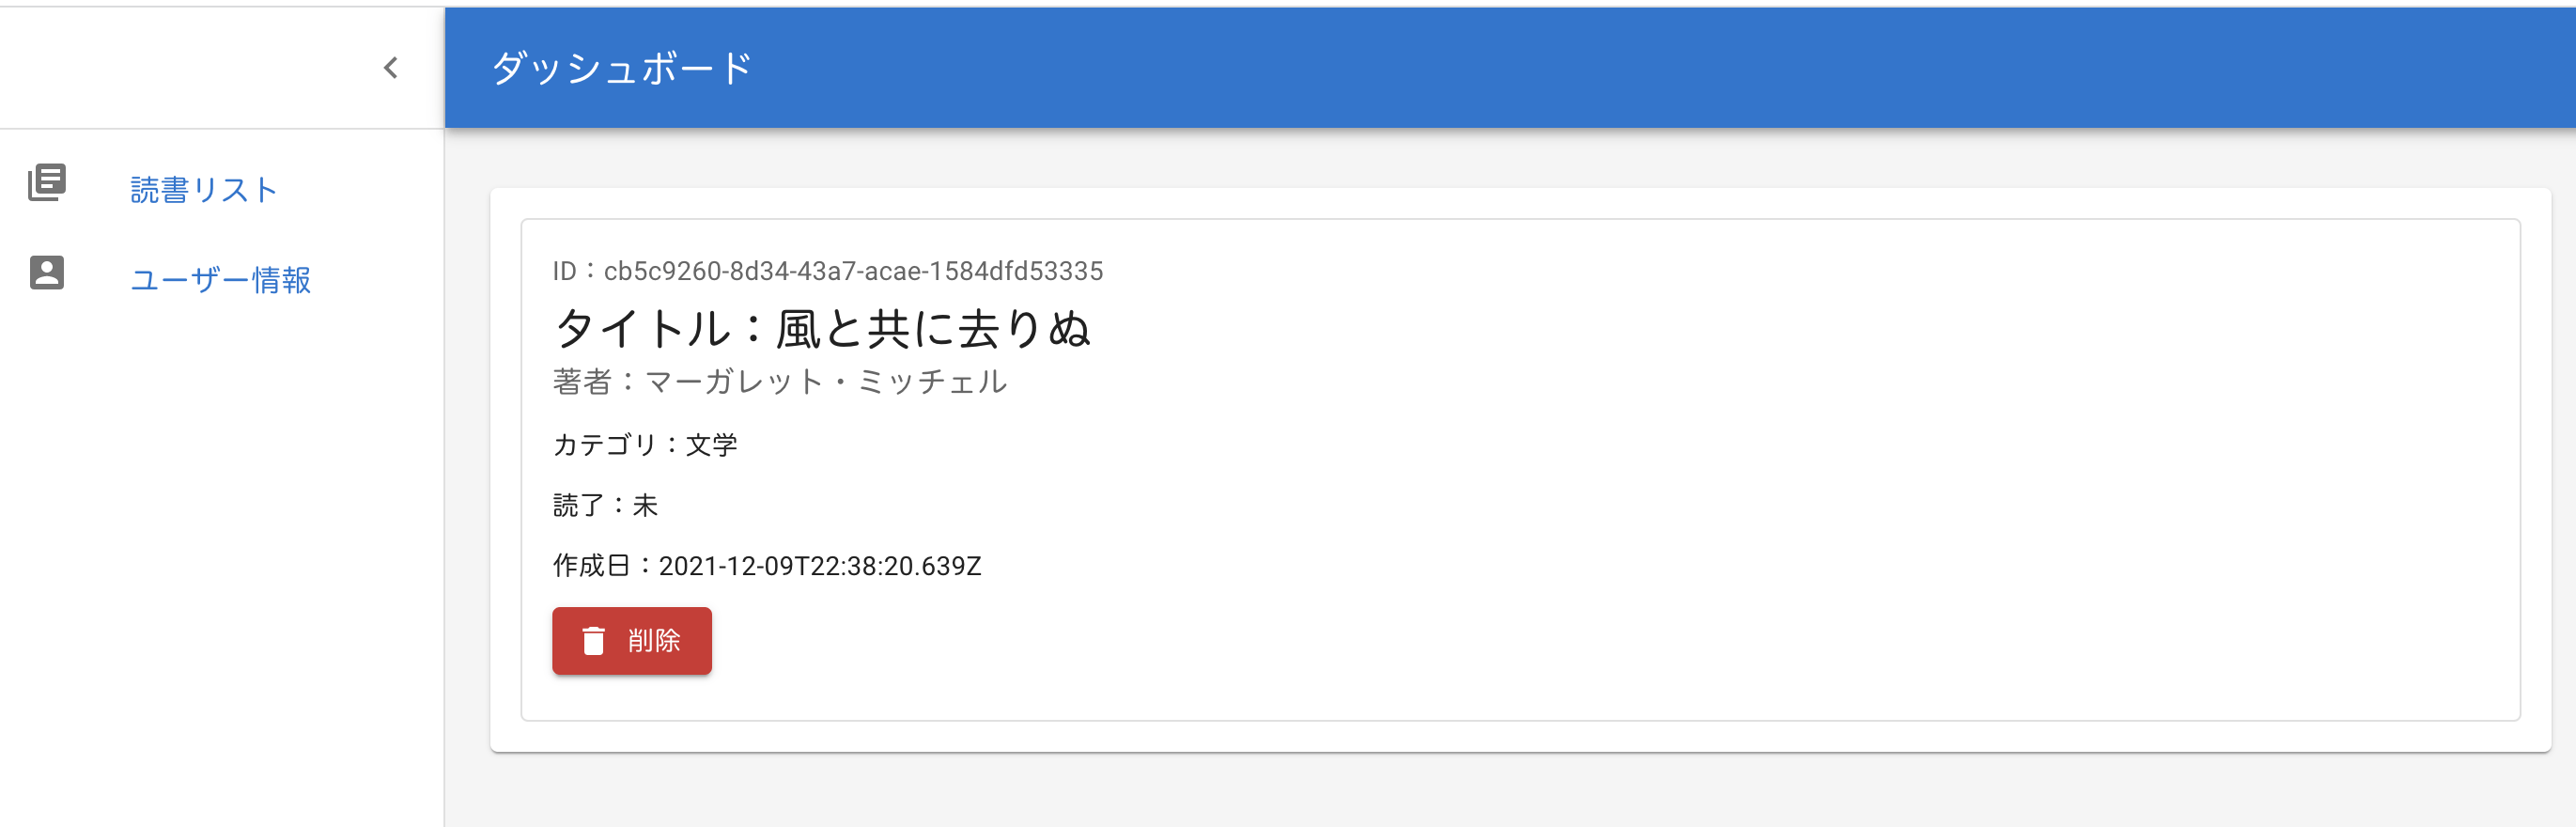
id のデータを表示することができました。
データを削除する
次は、データを削除します。
削除ボタンのonClickにhandleDeleteを指定しましょう。
handleDelete を作成します。
src/graphql の mutations.ts にあるdeleteBookを確認します。
inputでidを指定するとよさそうです。
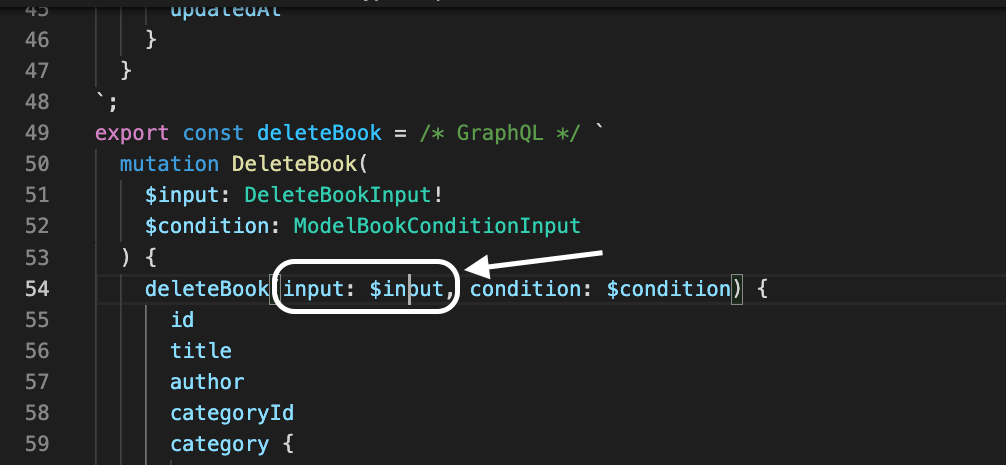
handleDeleteのinputに idを指定します。
graphqlOperationにdeleteBookとinputを指定します。
ブラウザで確認しましょう。
読書リスト画面に戻ってみると、
データが削除されていました。
データを更新する
最後に、データを更新します。
読書リストの読了を『済』や『未』へ変更できるようにします。

まずは、『済』と『未』にボタンを設定します。
引数は、book.id と、『済』をクリックした時は false、『未』をクリックした時は true とします。
handleUpdateを作成します。
src/graphql フォルダの mutations.ts を確認すると、input でデータを変更することができそうです。
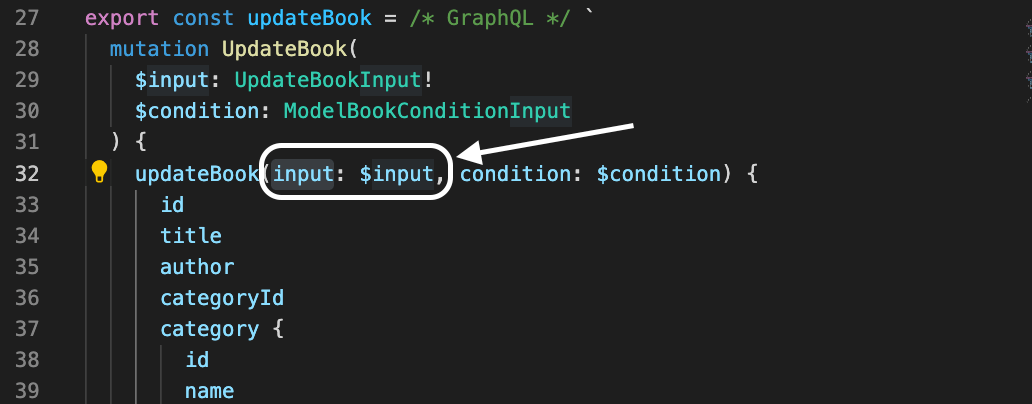
handleUpdate に、先程指定した引数を設定します。
input には、どの id を更新するかを指定するために id と、 更新したい内容の isRead を指定します。
graphqlOperationは、updateBookとinputを指定しましょう。
では、ブラウザで確認します。
読了の『済』をクリックして、リロードすると、
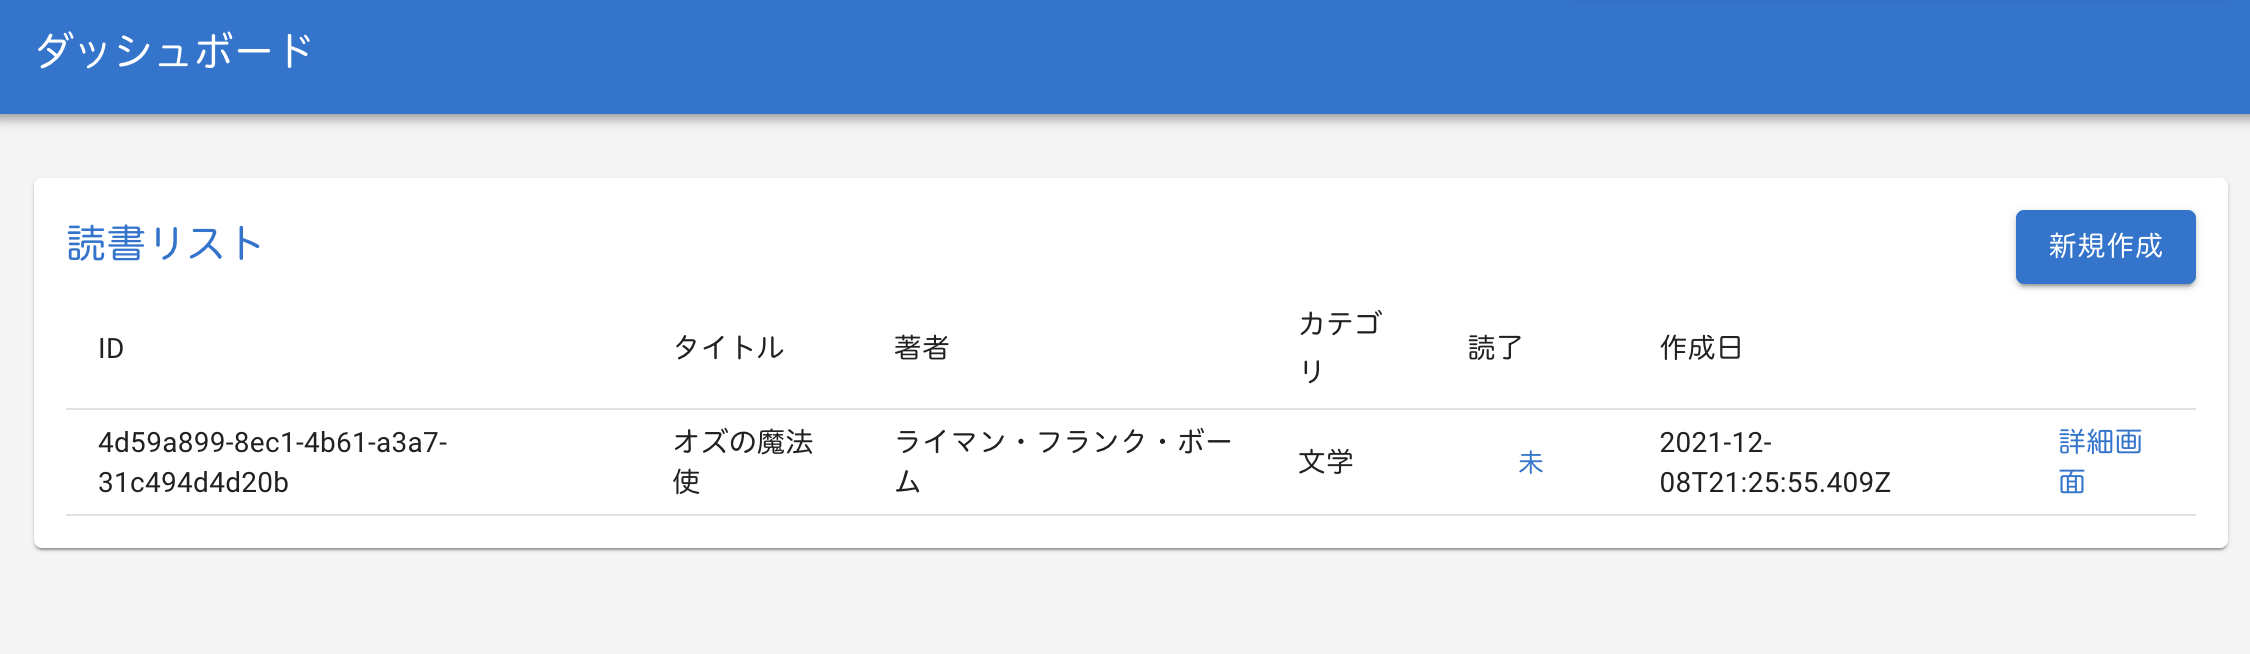
『済』から『未』へ変更することができました。
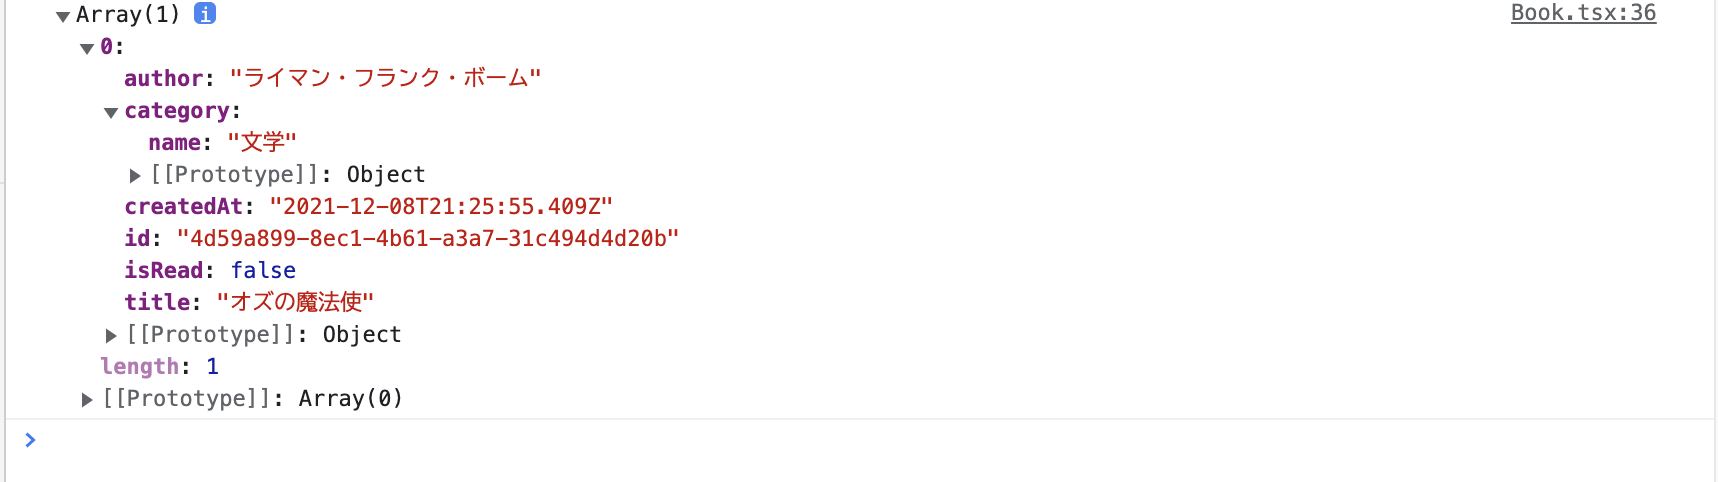
console.logのisReadも、true から false へ更新されました。
お知らせ
私事ですが、Udemyで初心者を対象にしたReactの動画コースを作成しました。
Reactについて興味がありましたら、ぜひ下のリンクからアクセスしてください。
詳しくはこちら(Udemyの外部サイトへ遷移します)