【AWS】フロントエンドで送信したデータをAmazon Cognitoに登録する
前回は、Amazon Cognito のユーザープールを作成しました。
【AWS】Amazon Cognitoのユーザープールを作成する
今回は、Amazon Cognito を AWS Amplify を使わずに連携し、Emal とパスワードを登録します。
テスト用のフォームを React で簡単に作成しました。

まずは、amazon-cognito-identity-js をインストールします。
ターミナルで、npm install --save amazon-cognito-identity-jsを実行します。
amazon-cognito-identity-jsをインポートしましょう。
poolDataを作ります。
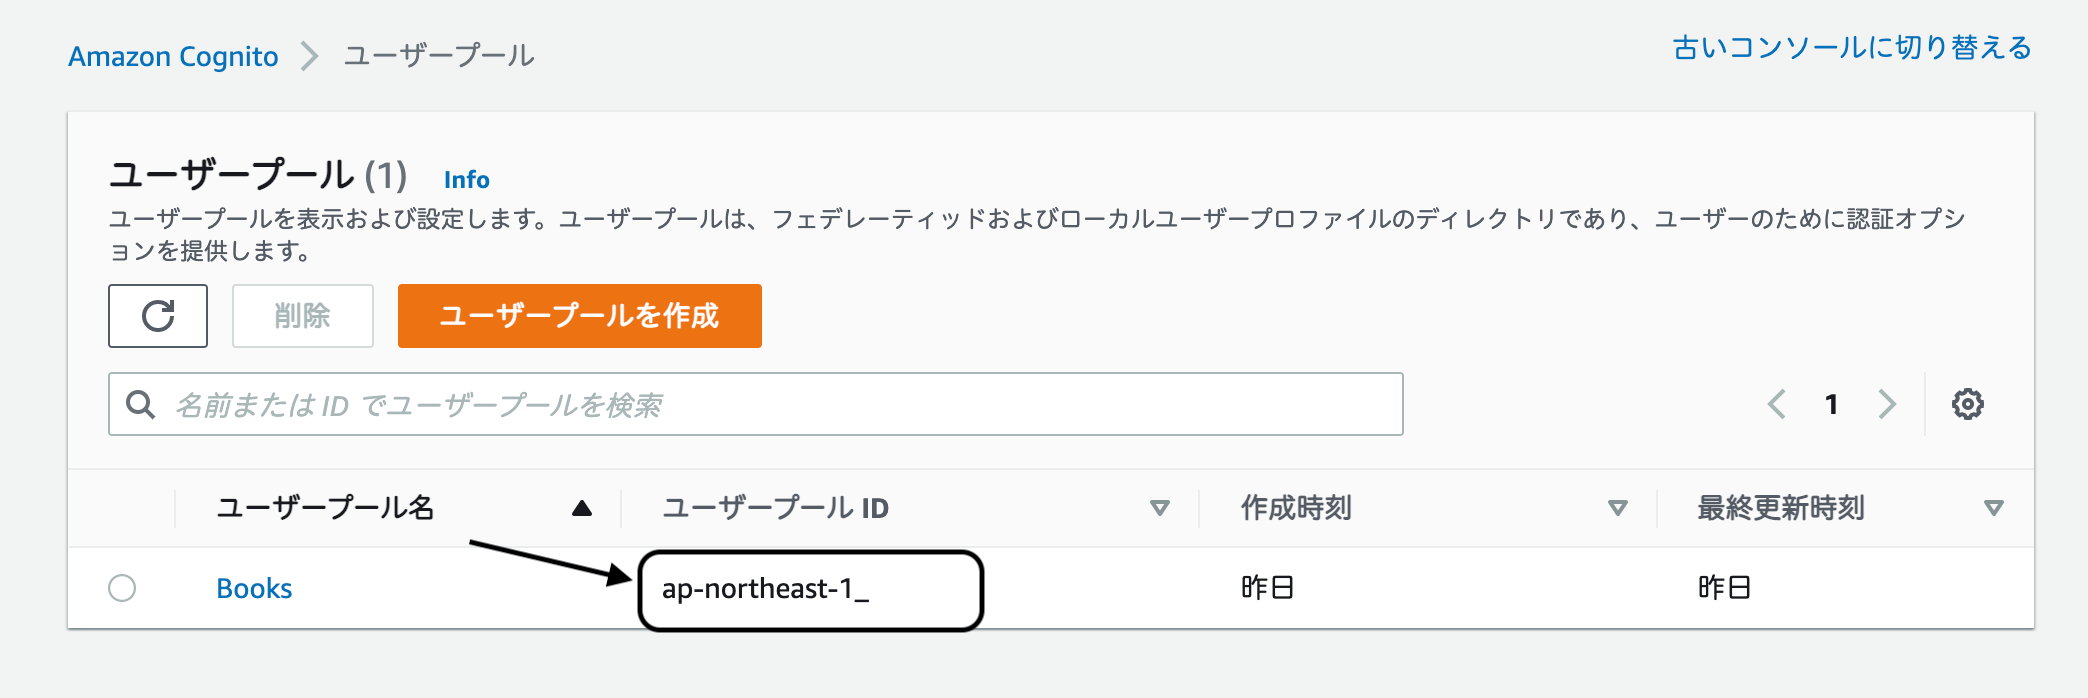
UserPoolIdには、Cognito のユーザープール名横に記載されている、ユーザープール ID を指定します。
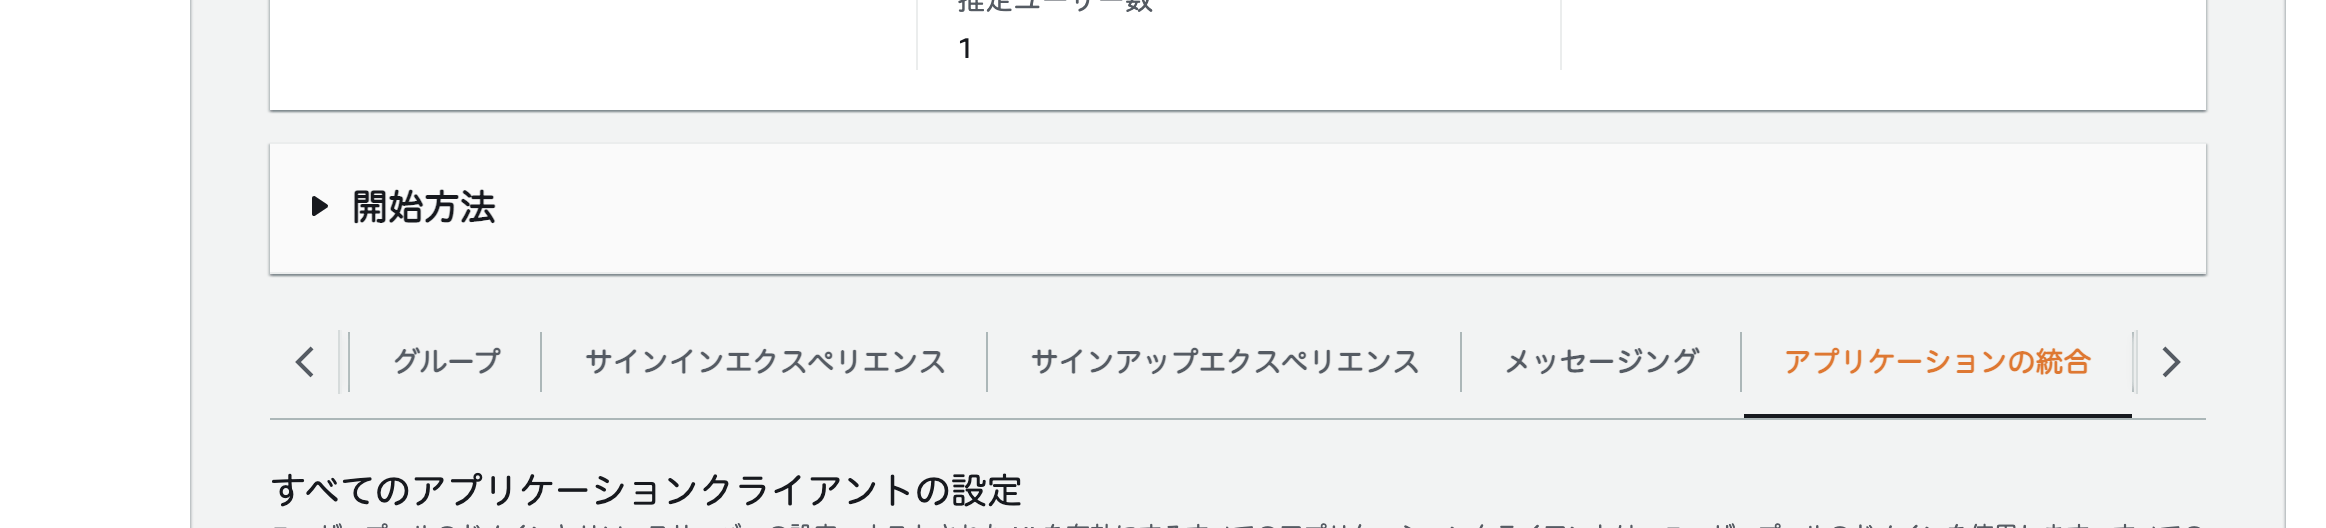
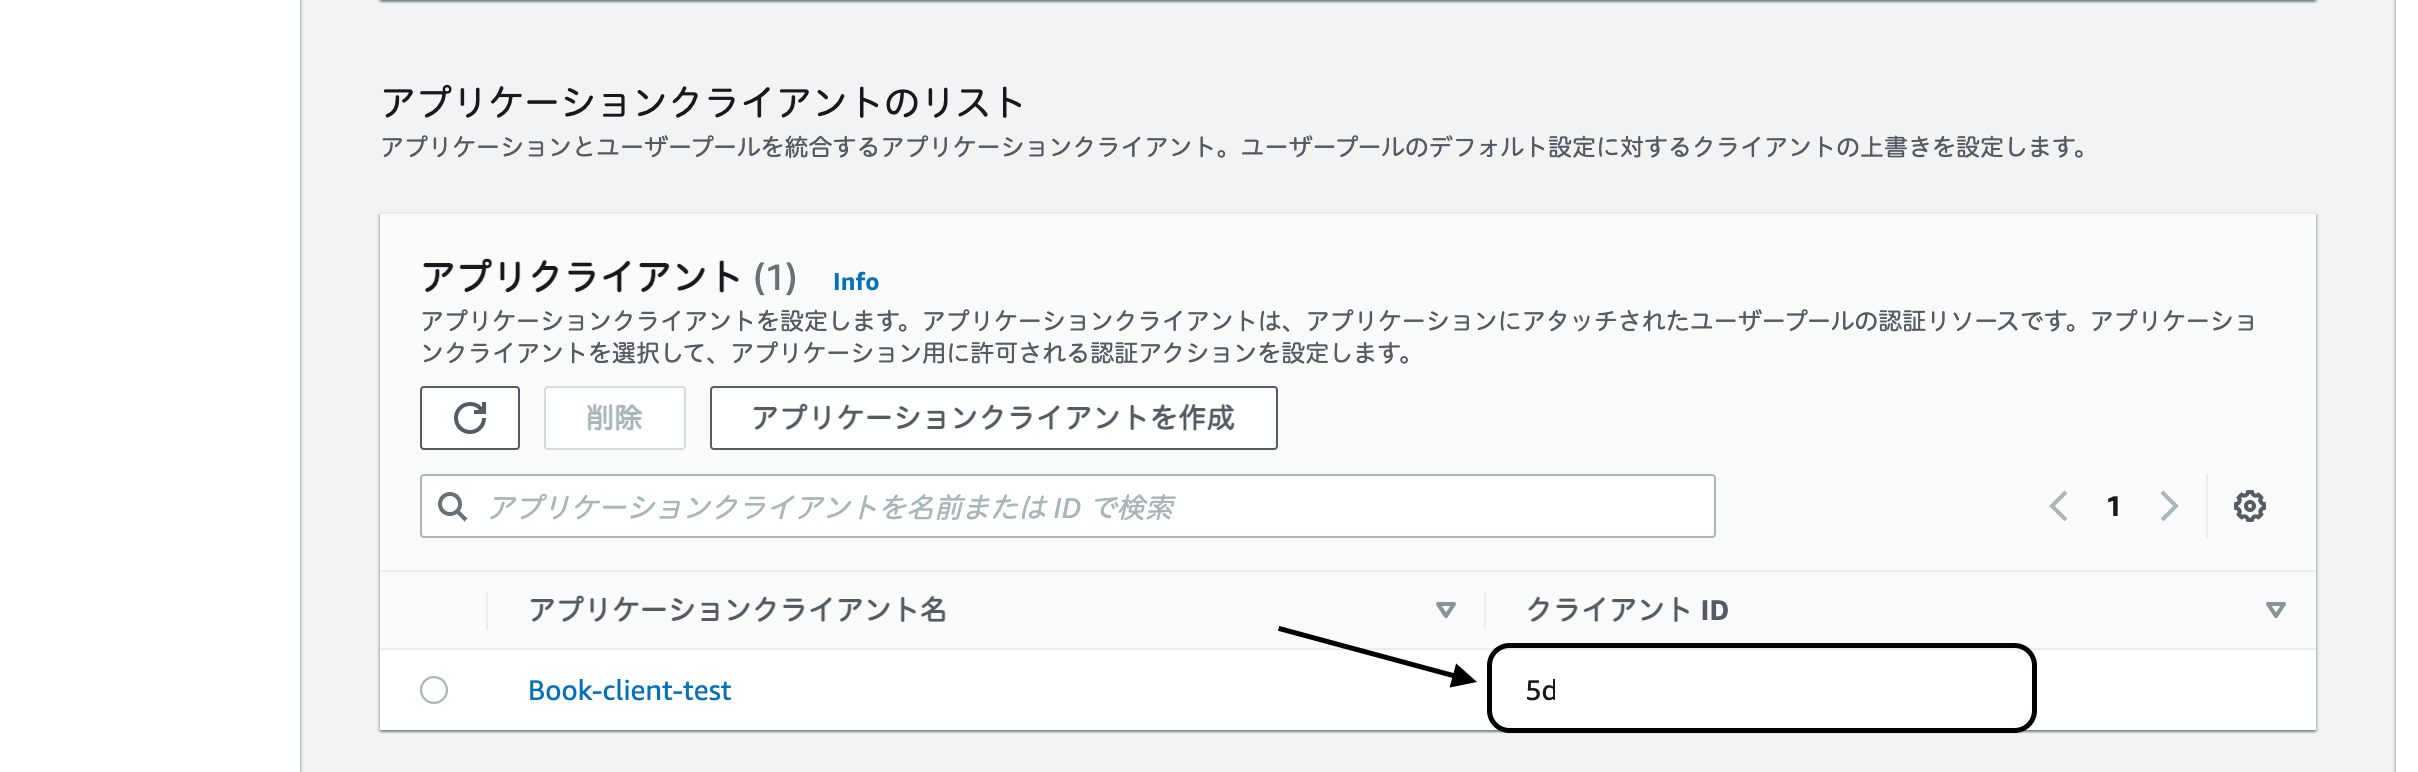
また、ClientIdは、ユーザープールの『アプリケーションの統合』を選択し、一番下に書かれているクライアント ID を指定します。
次は、userPool を作成し、AmazonCognitoIdentityのCognitoUserPoolを設定します。
空のattributeListを設定します。
useStateを使って、emailとpasswordの状態を管理しましょう。
dataEmailを設定します。
attributeEmailを設定し、attributeListにpushするよう設定します。
handleSubmitの中に、userPoolのsignUpを設定します。
第一引数と第二引数は、それぞれ、auth.emailとauth.passwordを指定します。
一通り完成したので、テストしましょう。

『送信』をクリックし、console.log を確認すると、

無事、登録できているようです。
Cognito で確認すると、
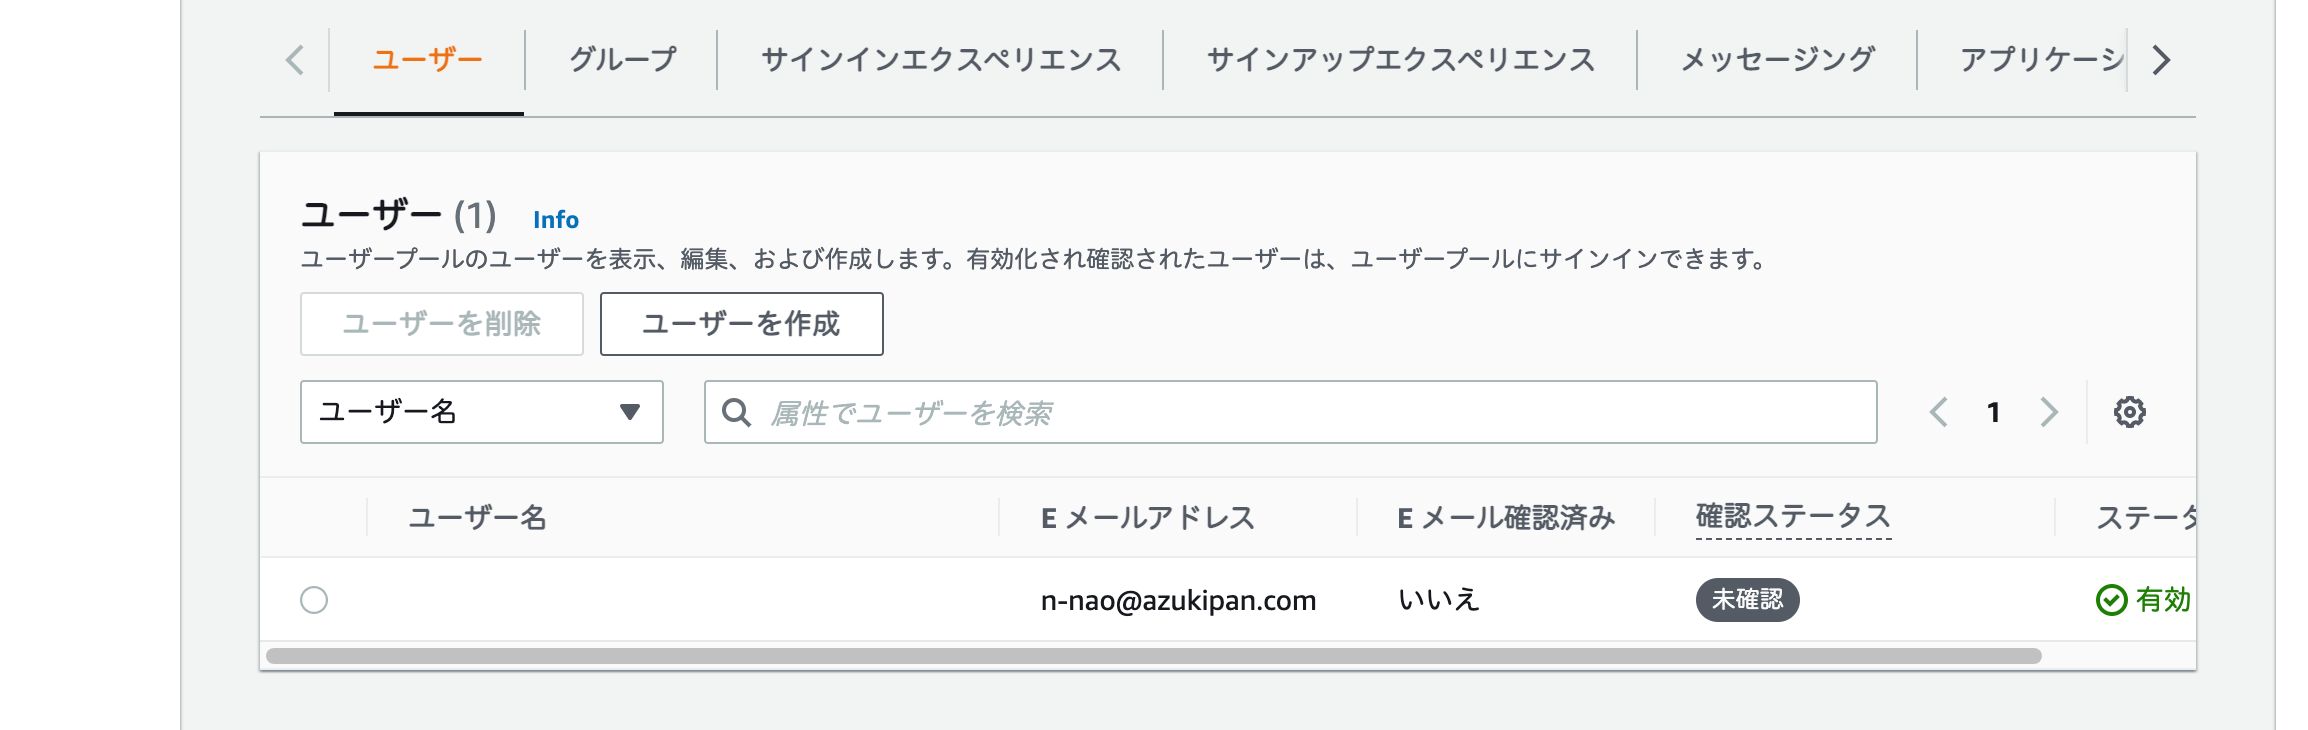
先程送信した、Email が登録されていました。
全文は、以下の通りです。
次回は、Amazon Cognito から送られてきた確認コードを確認済みにします。
【AWS】Amazon Cognitoの確認コード用のフォームを作成する
お知らせ
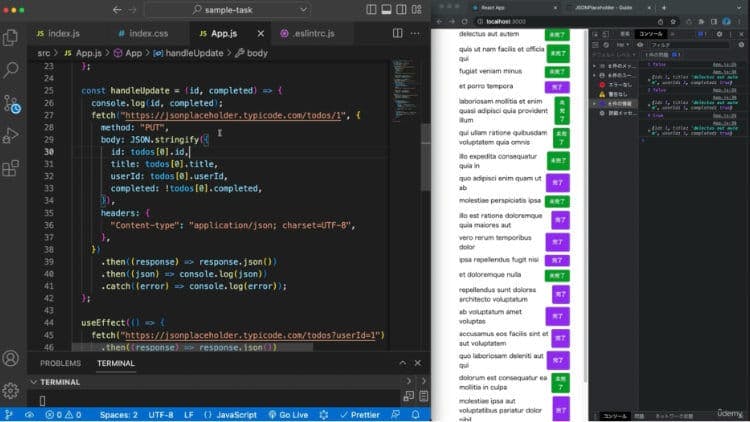
私事ですが、Udemyで初心者を対象にしたReactの動画コースを作成しました。
Reactについて興味がありましたら、ぜひ下のリンクからアクセスしてください。
詳しくはこちら(Udemyの外部サイトへ遷移します)