【Firebase】Firestore Databaseに保存しているプロフィール情報を更新する
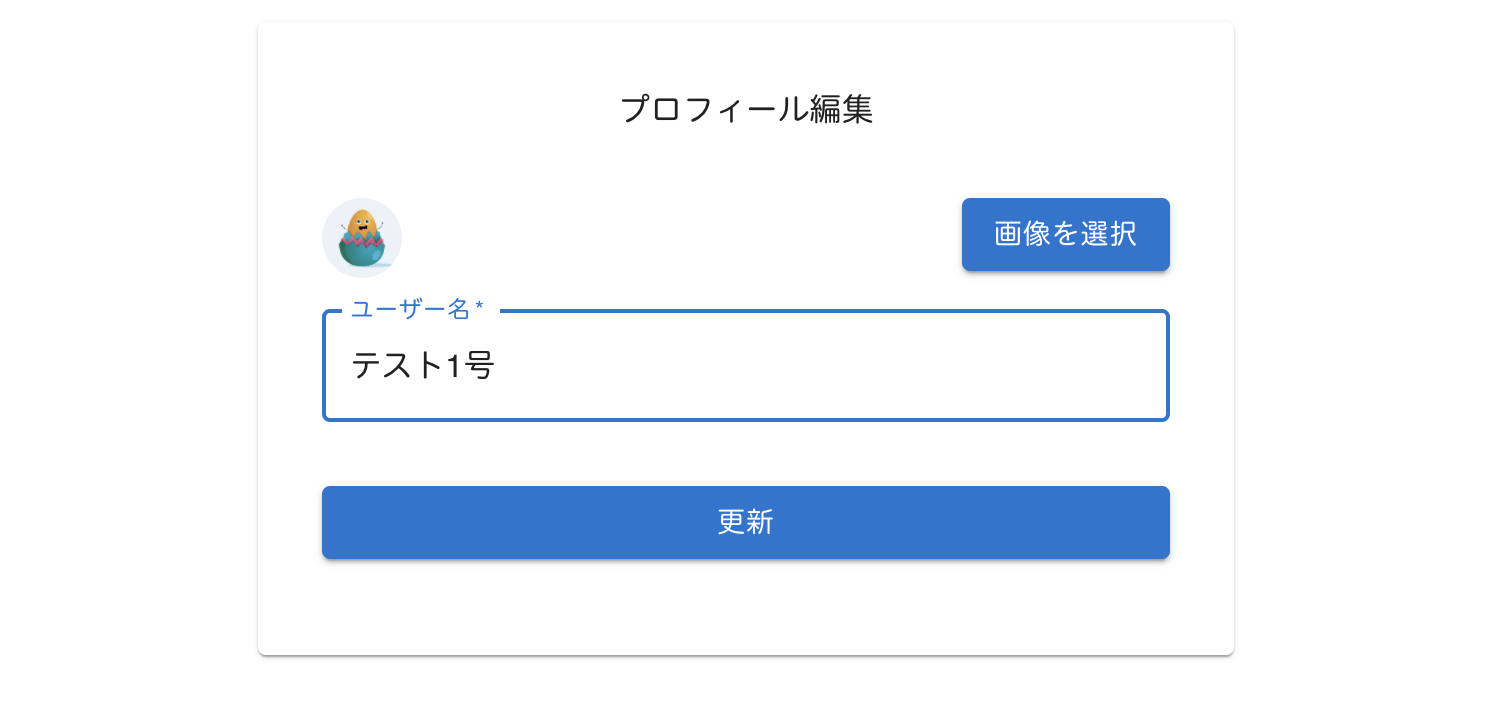
前回は、プロフィール画面にデフォルトでユーザー情報を表示しました。
【Firebase】プロフィール画面にデフォルトでユーザー情報を表示する
今回は、Firestore Database に保存しているプロフィール情報を更新します。
まずは、Firebase Database に保存している users のドキュメント ID をプローフィール情報に追加します。
userProfile.ts のプロフィール情報は、getDocs のdoc.data()で取得しています。
ドキュメント ID は、doc.idで取得することができます。
doc.idを docData へ追加します。
次に、Profile.tsx へ移動し、ユーザー情報を取得します。
Firestore Database の情報を更新するには、docとupdateDocを使用します。
firebase/firestoreからdocとupdateDocをインポートします。
単一のユーザー情報を取得するには、docを使用します。
以前設定した、firebaseApp から firestore をインポートします。
Firebase の設定は、こちらをご覧ください。
【Firebase】Firebase Project Configを設定する
【Firebase】Firestore Databeseのデータを、フロントエンドに表示する
docの第一引数には、Firebase Database の設定をしているfirestore、第二引数には、コレクションである『users』、第三引数には、先程設定したドキュメント ID があるprofile.idを指定します。
ユーザー情報を更新するには、updateDocを使用します。
getDownloadURLの中で、profileがある場合はupdateDocを指定し、profileがない場合はaddDocを指定します。
imageがない場合も同様に指定しておきましょう。
Button や Alert も profile がある場合は『更新』、profile がない場合は『作成』と表示されるようにします。
では、動作確認します。
ユーザー名を『テスト 2 号』にしてみます。
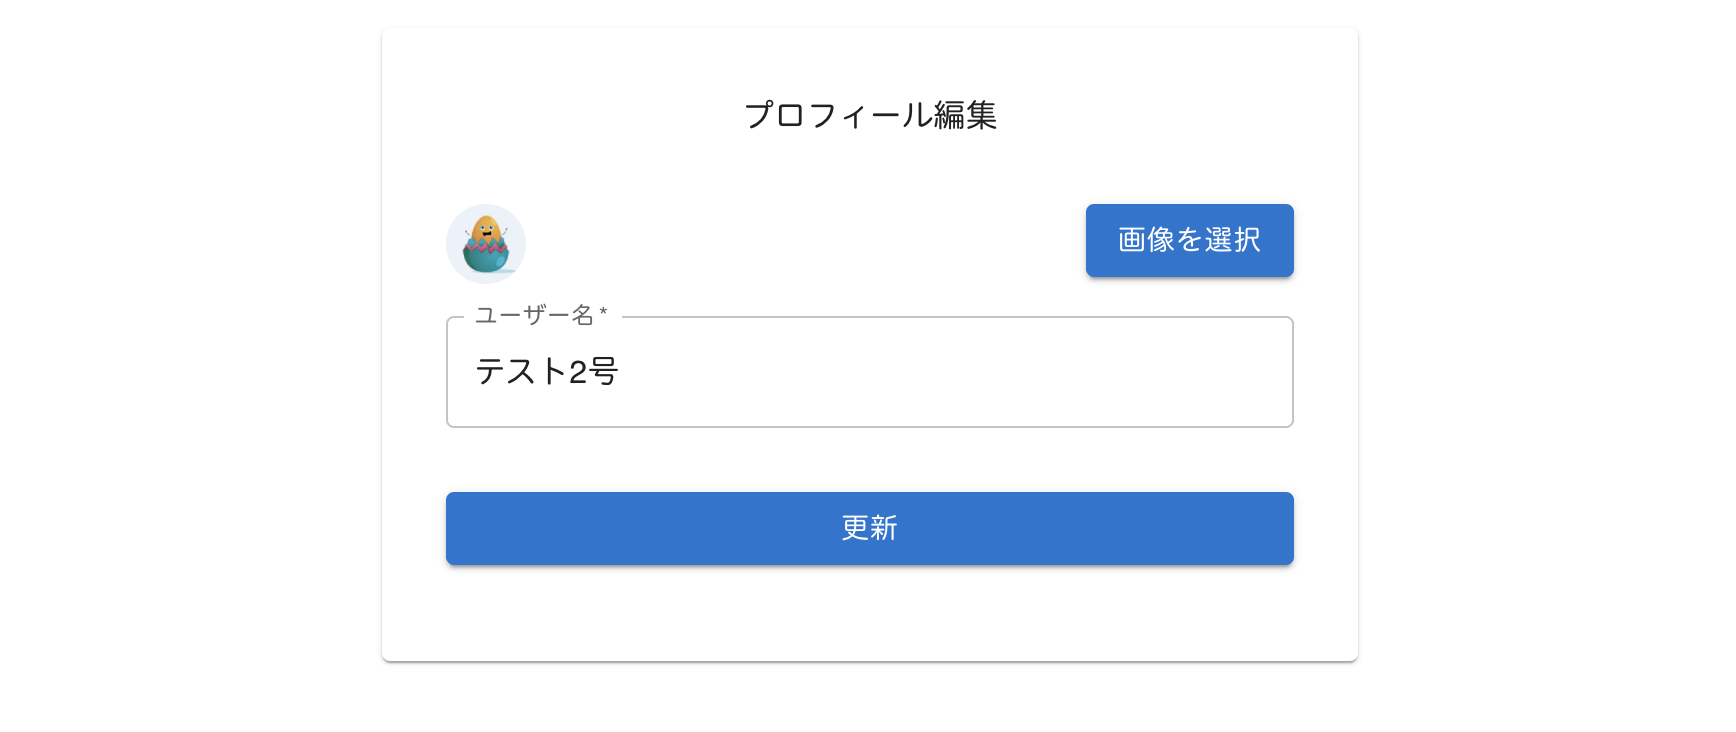
更新ボタンをクリックすると、
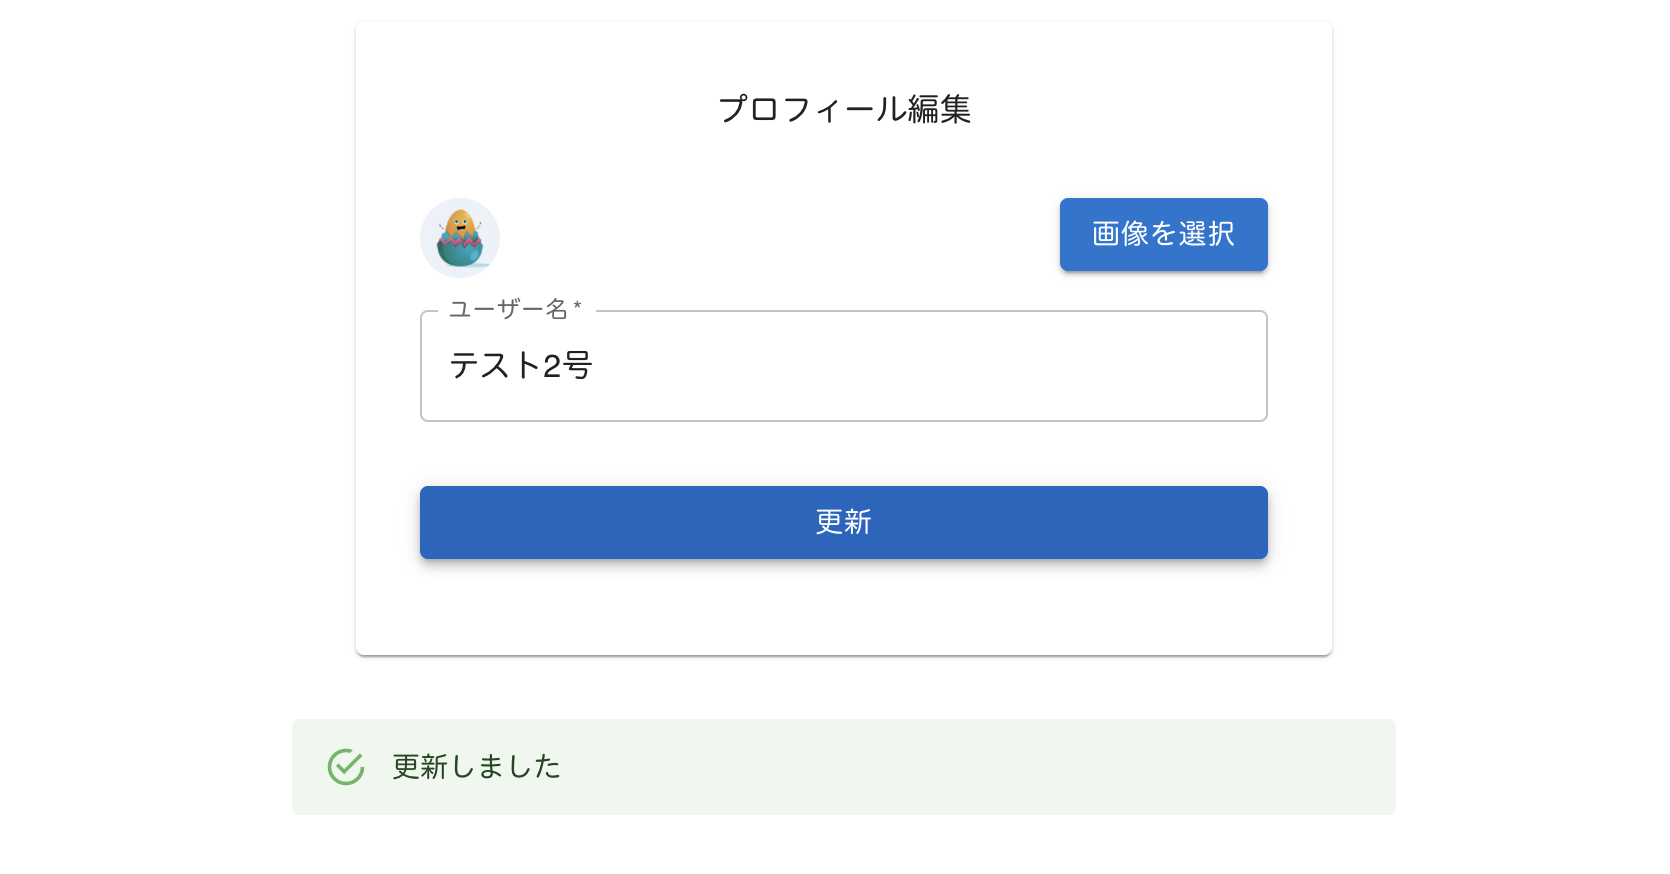
メッセージが表示されました。
Firebase Database でユーザー情報を確認すると、

テスト 2 号へ変更されていました。
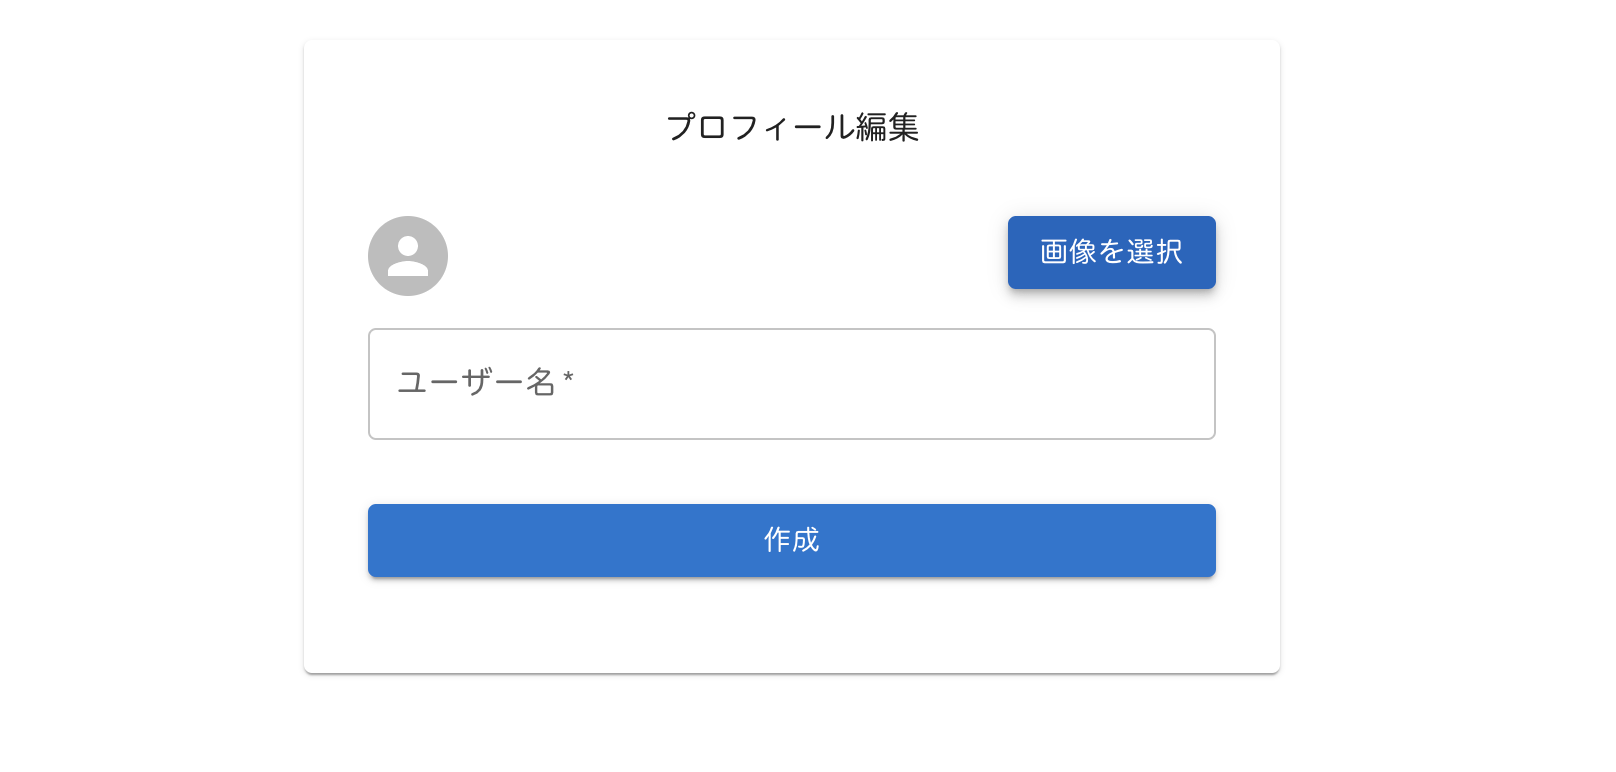
ちなみに、ユーザーが存在しない場合は、ボタンが『作成』になっていました。
再度作成ボタンをクリックすると、
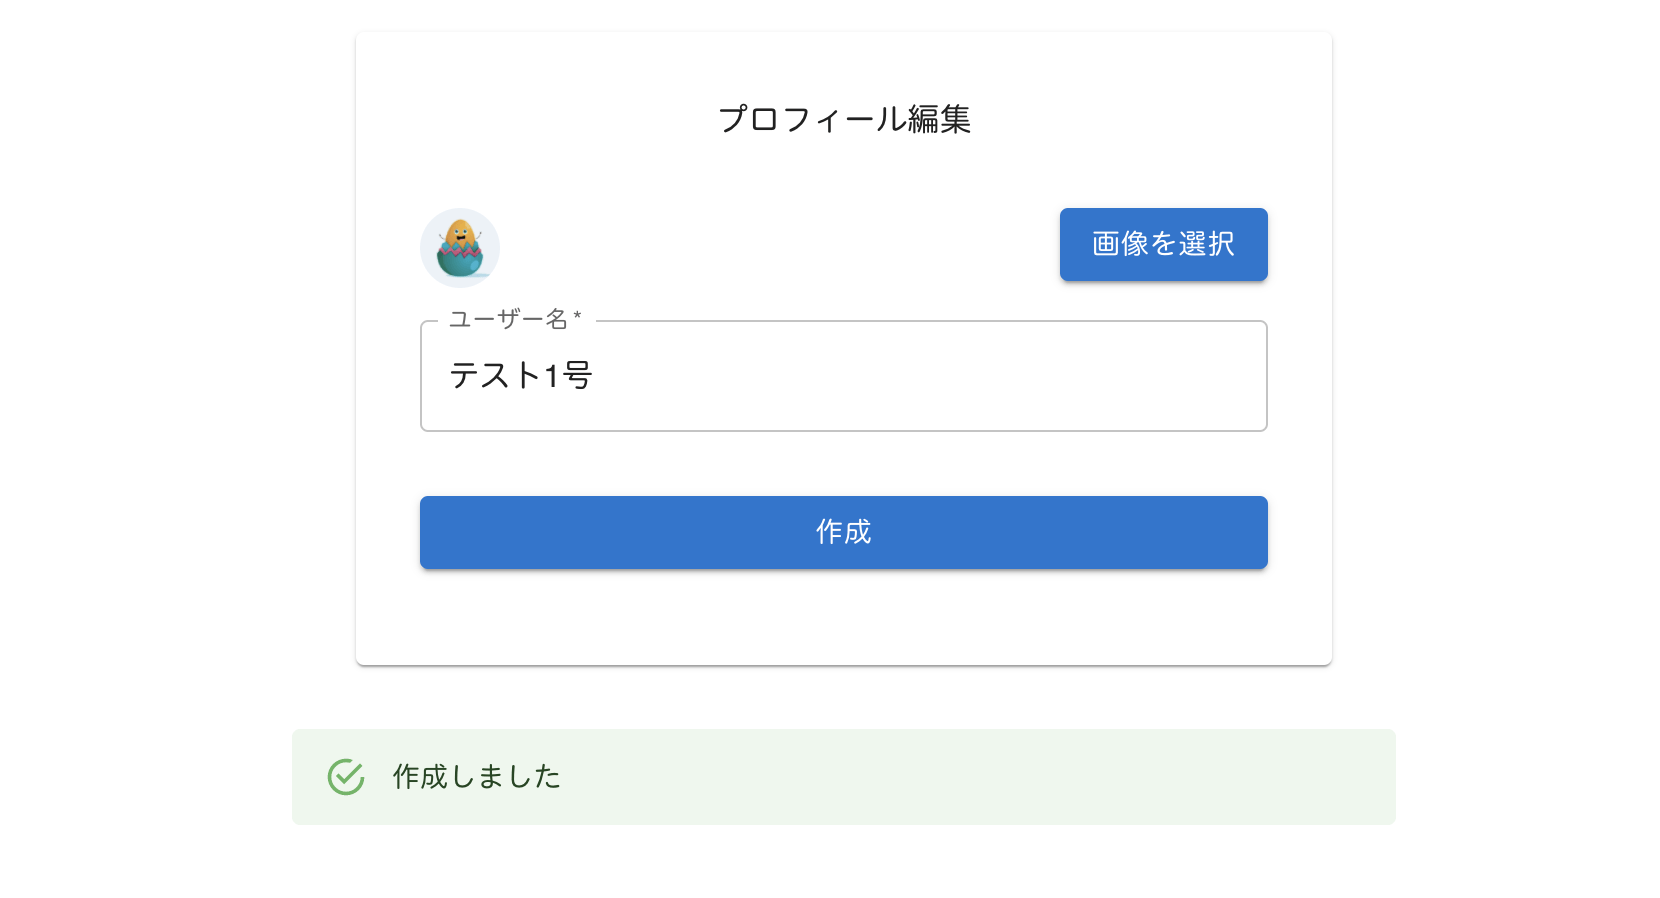
『作成しました』というメッセージになっていました。
ついでに、ヘッダーのアバターも登録している画像へ変更します。
Header.tsx

次回は、メッセージにプロフィール情報を追加し、Firestore Database に保存します。

【Firebase】メッセージにプロフィール情報を追加し、Firestore Databaseに保存する
お知らせ
私事ですが、Udemyで初心者を対象にしたReactの動画コースを作成しました。
Reactについて興味がありましたら、ぜひ下のリンクからアクセスしてください。
詳しくはこちら(Udemyの外部サイトへ遷移します)