【GraphQL】フロントエンドでGraphQLのデータを追加する
前回は、GraphQL で接続したデータ一覧から、詳細画面へ遷移させました。

【GraphQL】フロントエンドで詳細画面へ遷移する
今回は、フロントエンドでデータを追加します。
コードは、こちらです。
フロントエンド:
バックエンド:
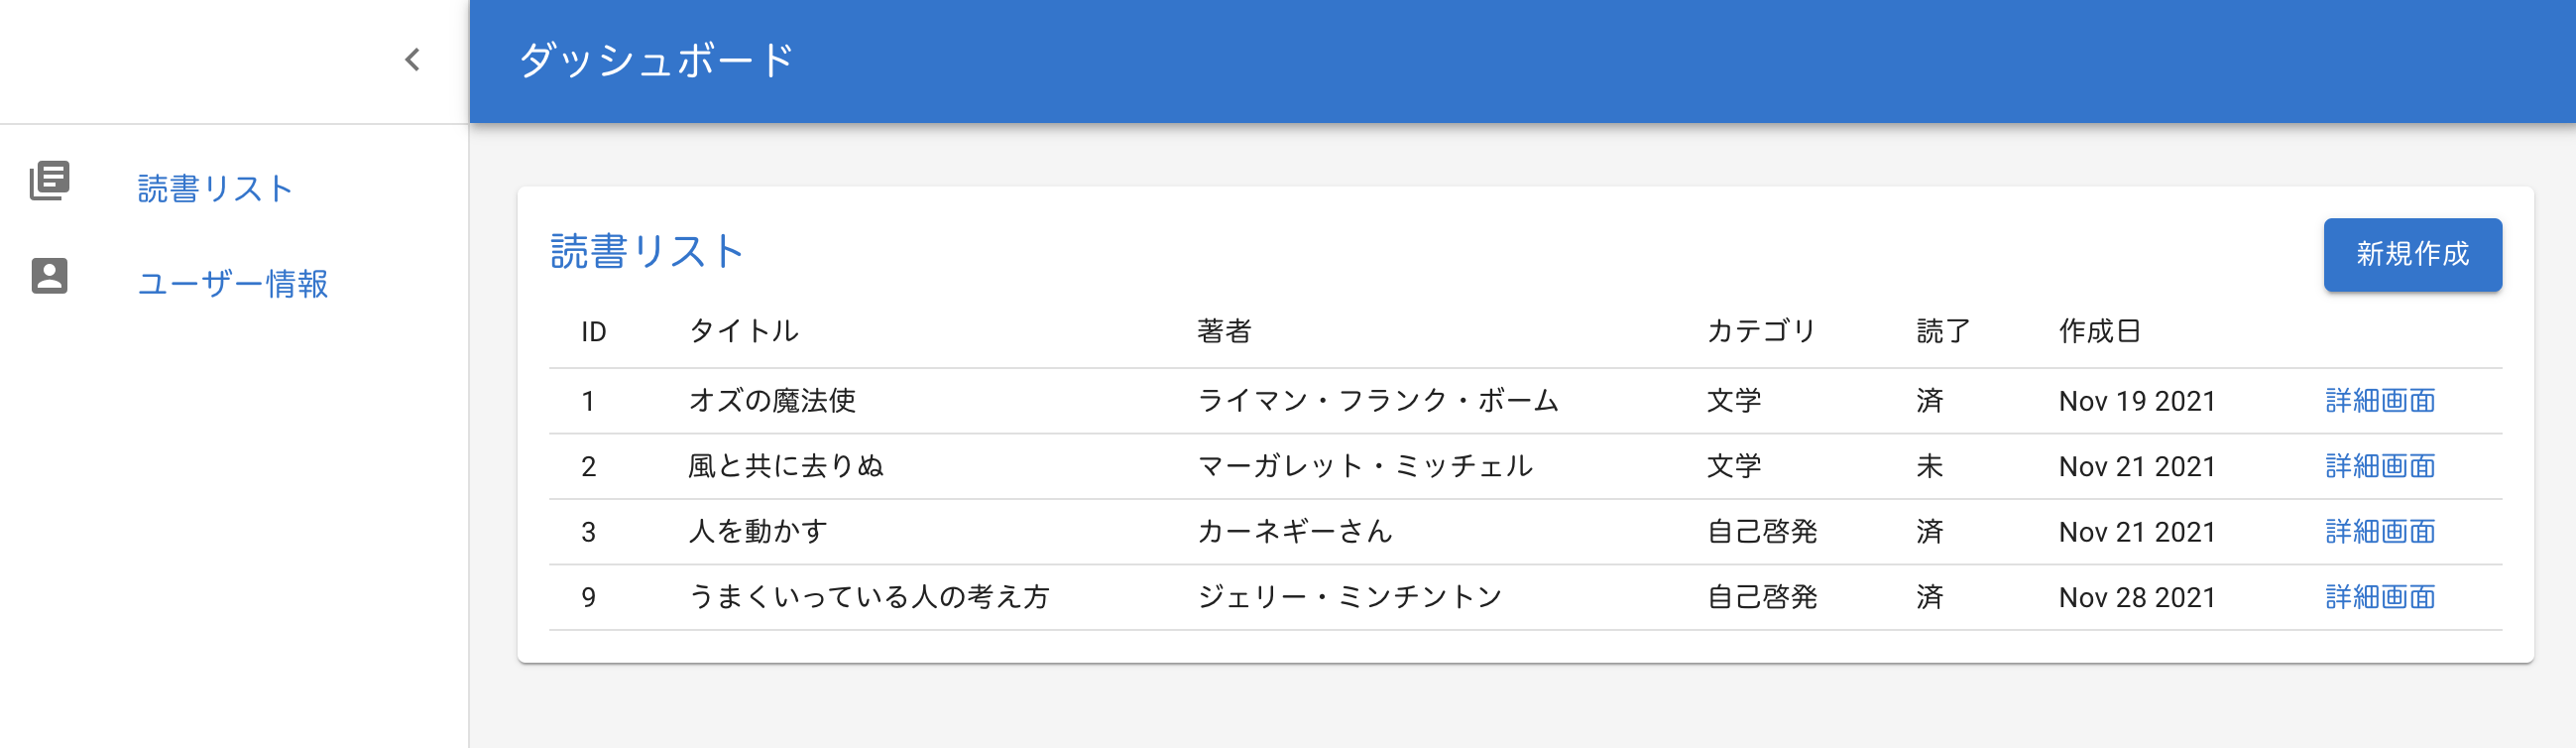
読書リスト画面で、新規作成ボタンをクリックすると、本のデータを作成できるようにします。
まずは、新規作成ボタンから出てくるモーダルを作ります。
components フォルダに、ModalBook.tsx を作成します。
モーダルの内容は、MUI の modal を参考にします。
https://mui.com/components/modal/
Modal の中に、フォームを作成します。
components フォルファに、AddBook.tsx を作成します。
GraphQL に接続するのが目的なので、MUI の内容は割愛して、今後ご紹介します。
AddBook.tsx を ModalBook にインポートします。
モーダルを Book.tsx にインポートします。
ブラウザで確認すると、

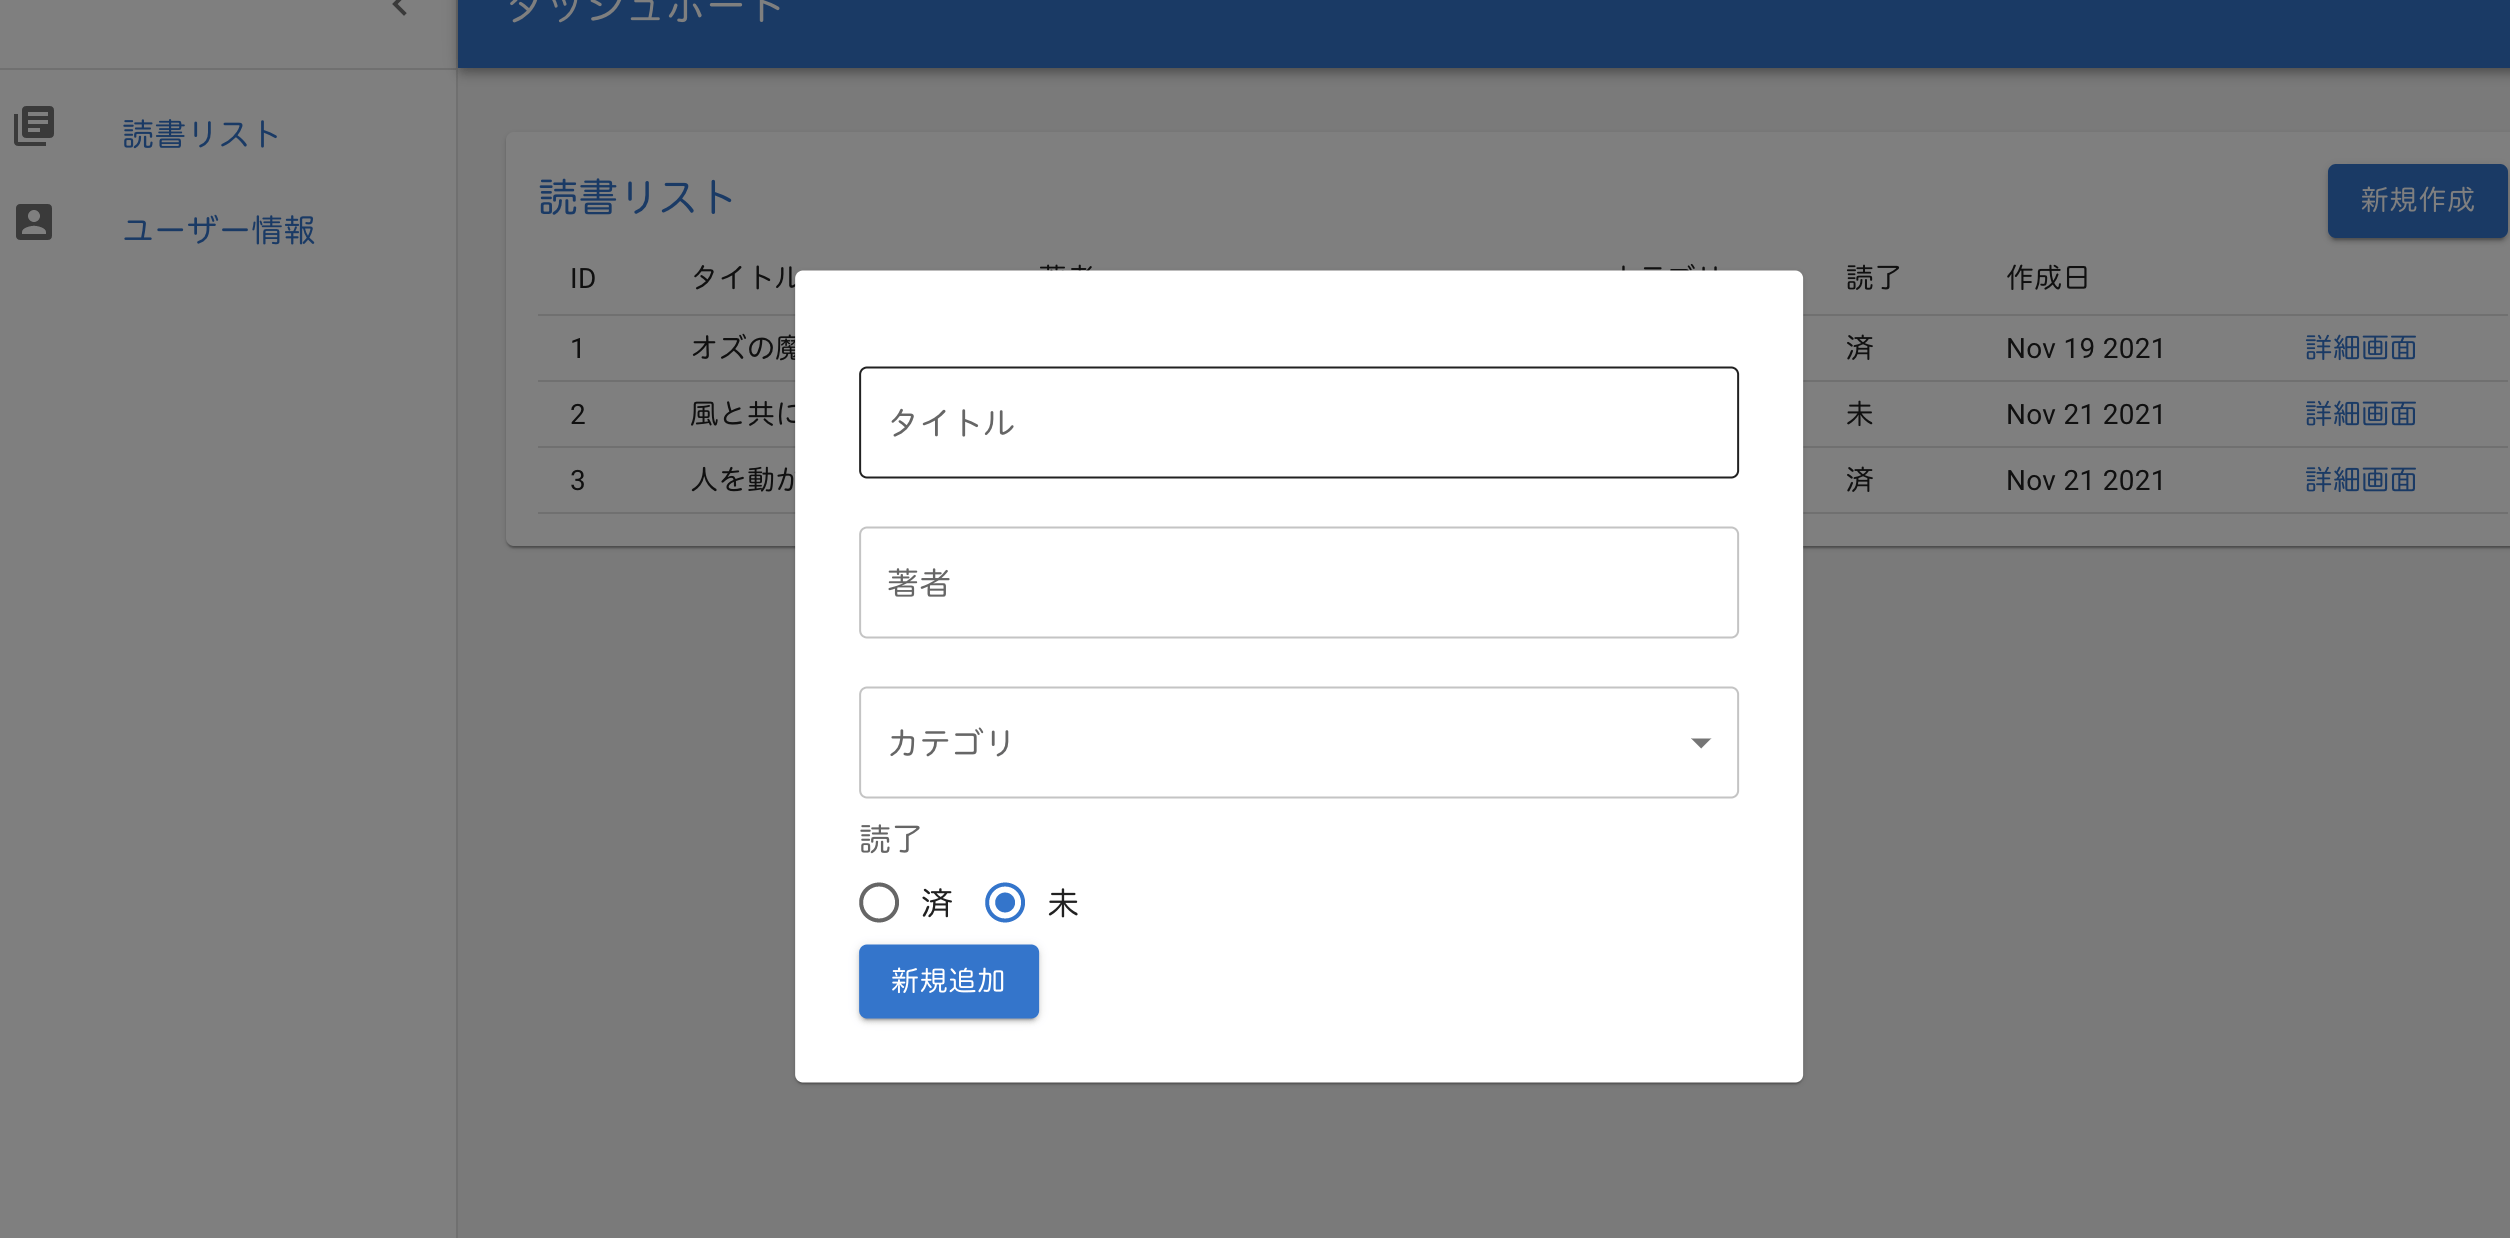
モーダルが完成しました。
今のところ、『新規追加』ボタンをクリックすると、console.log で GraphQL に送信したい内容が表示されます。

では、GraphQL に接続して、データを追加できるようにします。
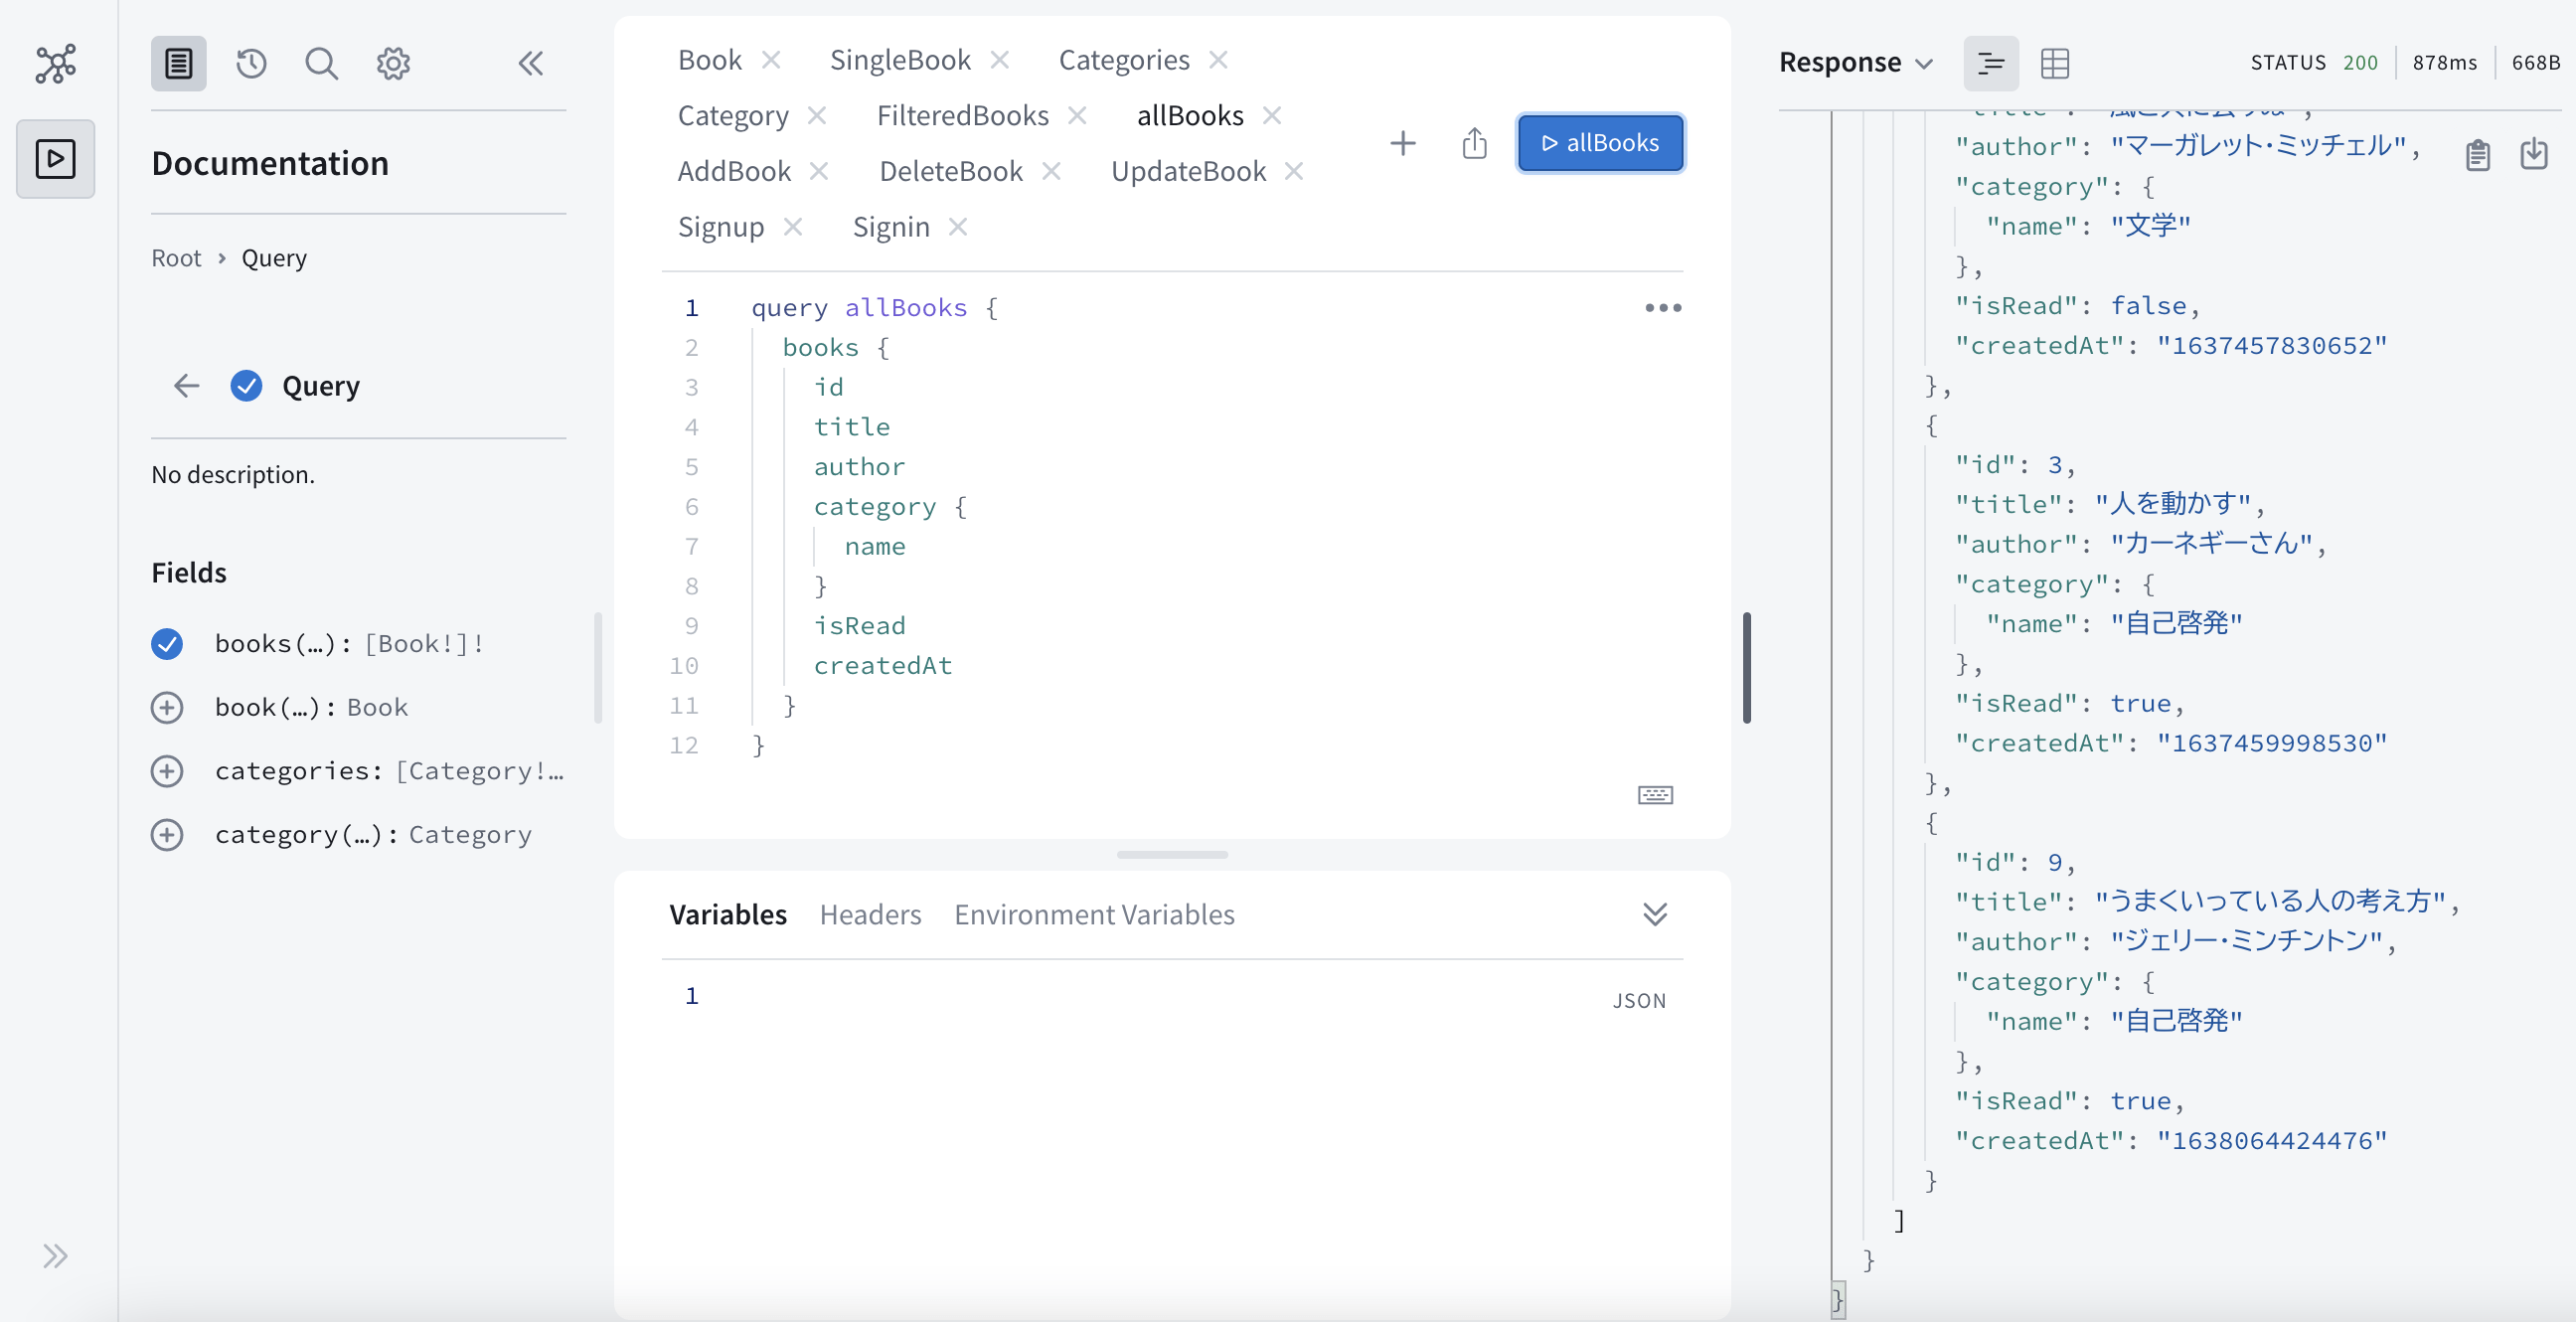
まずは、カテゴリを GraphQL に接続しましょう。
CreateBook.tsx にgqlをインポートします。
GraphQL を開いて、バックエンドで作成したCategoriesをコピーします。
コピーしたCategoriesをgql内に貼り付けます。
useQuery をインポートします。
useQuery で、data、error、loading を作成します
カテゴリのフィールドを作成しましょう。
型を作成します。
また、ローカルデータのcategoriesは必要無いので、削除します。
一度、ブラウザで確認します。
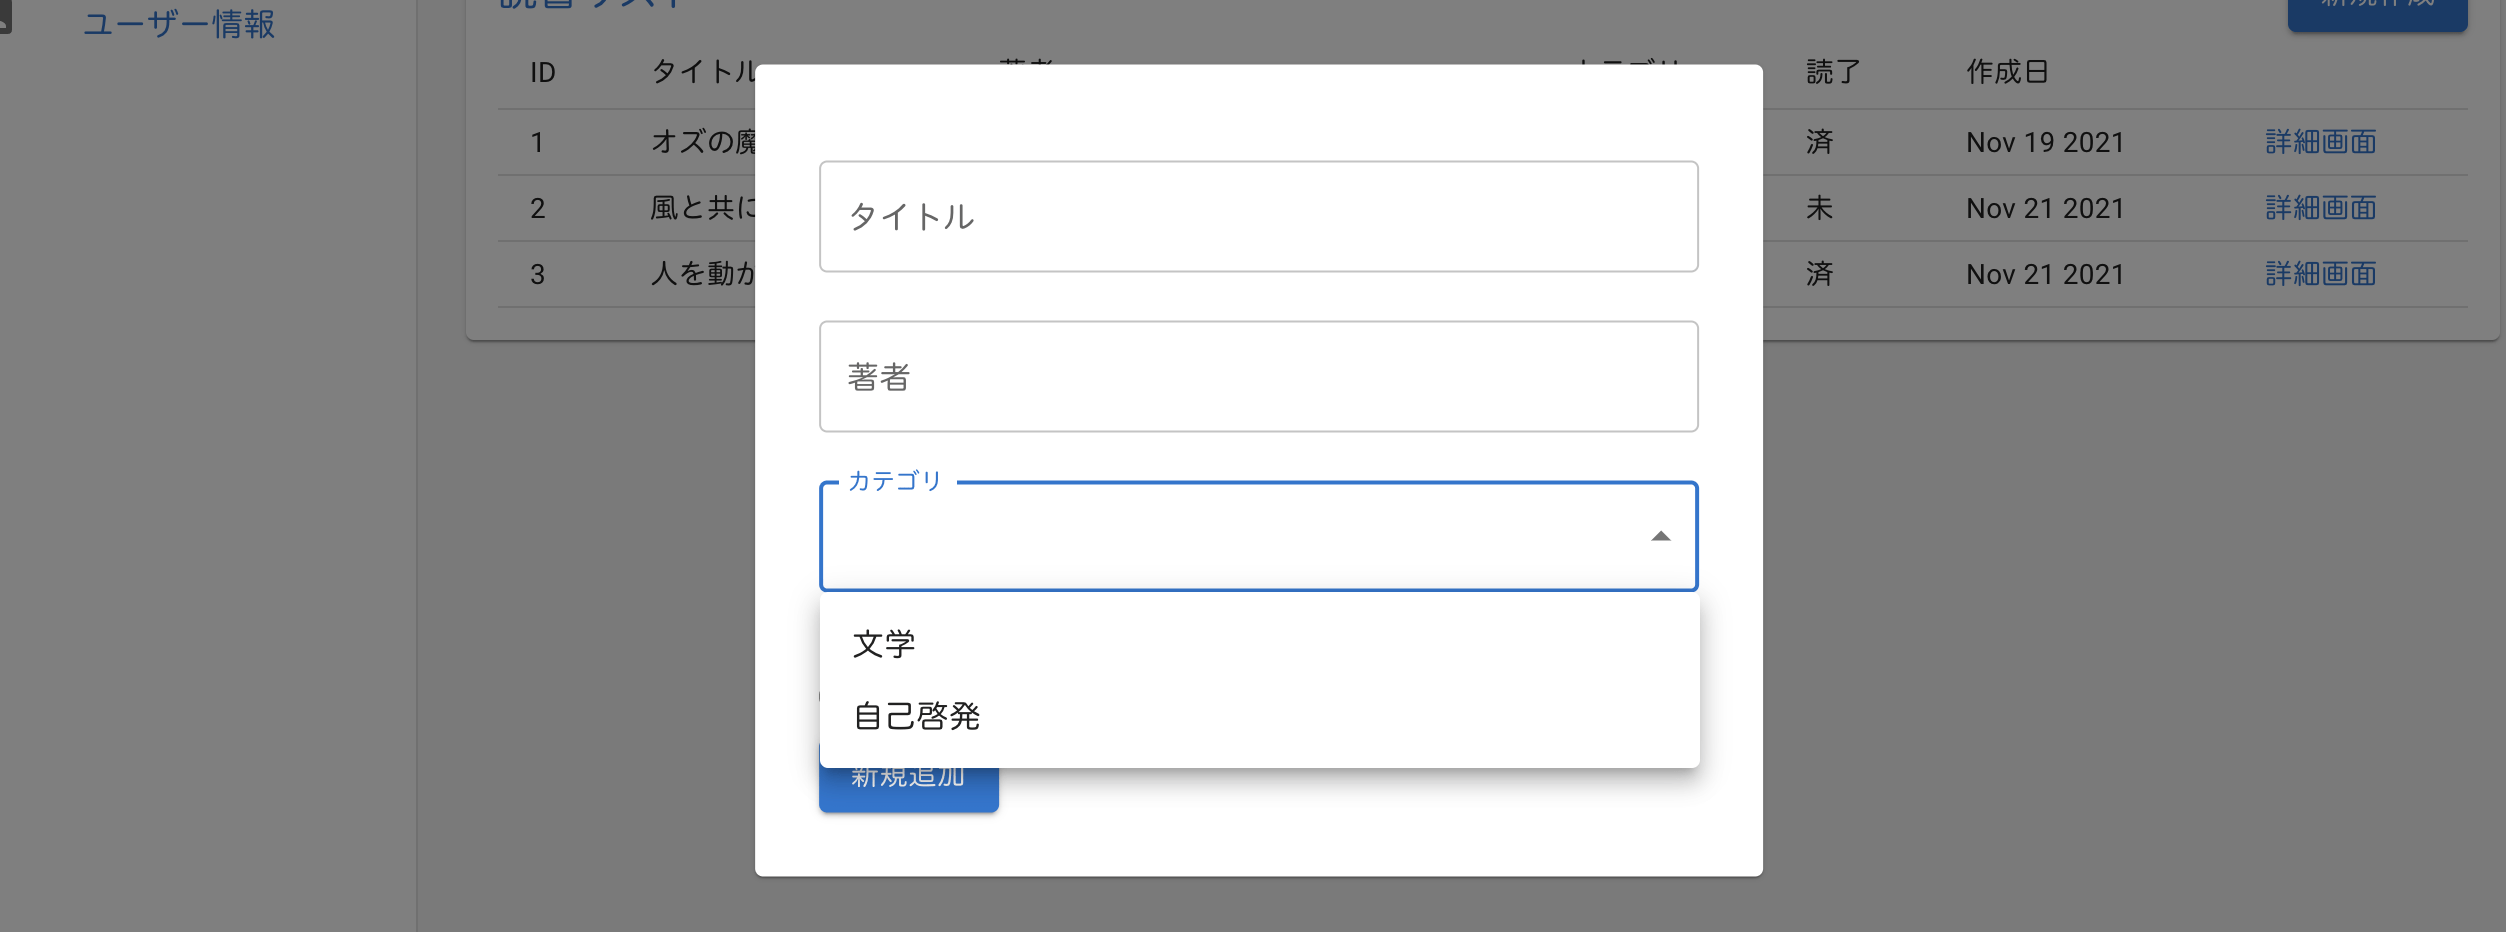
カテゴリが問題なく表示されています。
次は、mutation を作成します。
GraphQL を開いて、バックエンドで作成したAddBookのmutationをコピーします。
コピーした AddBook を gql 内に貼り付けます。
useMutationをインポートします。
データを作成するためのaddBookDataを設定します。
また、dataとloadingも設定します。
handleClick内に、addBookDataを設定します。
追加したい項目は、title、author、categoryId、isRead なので、variablesに 4 項目を指定します。
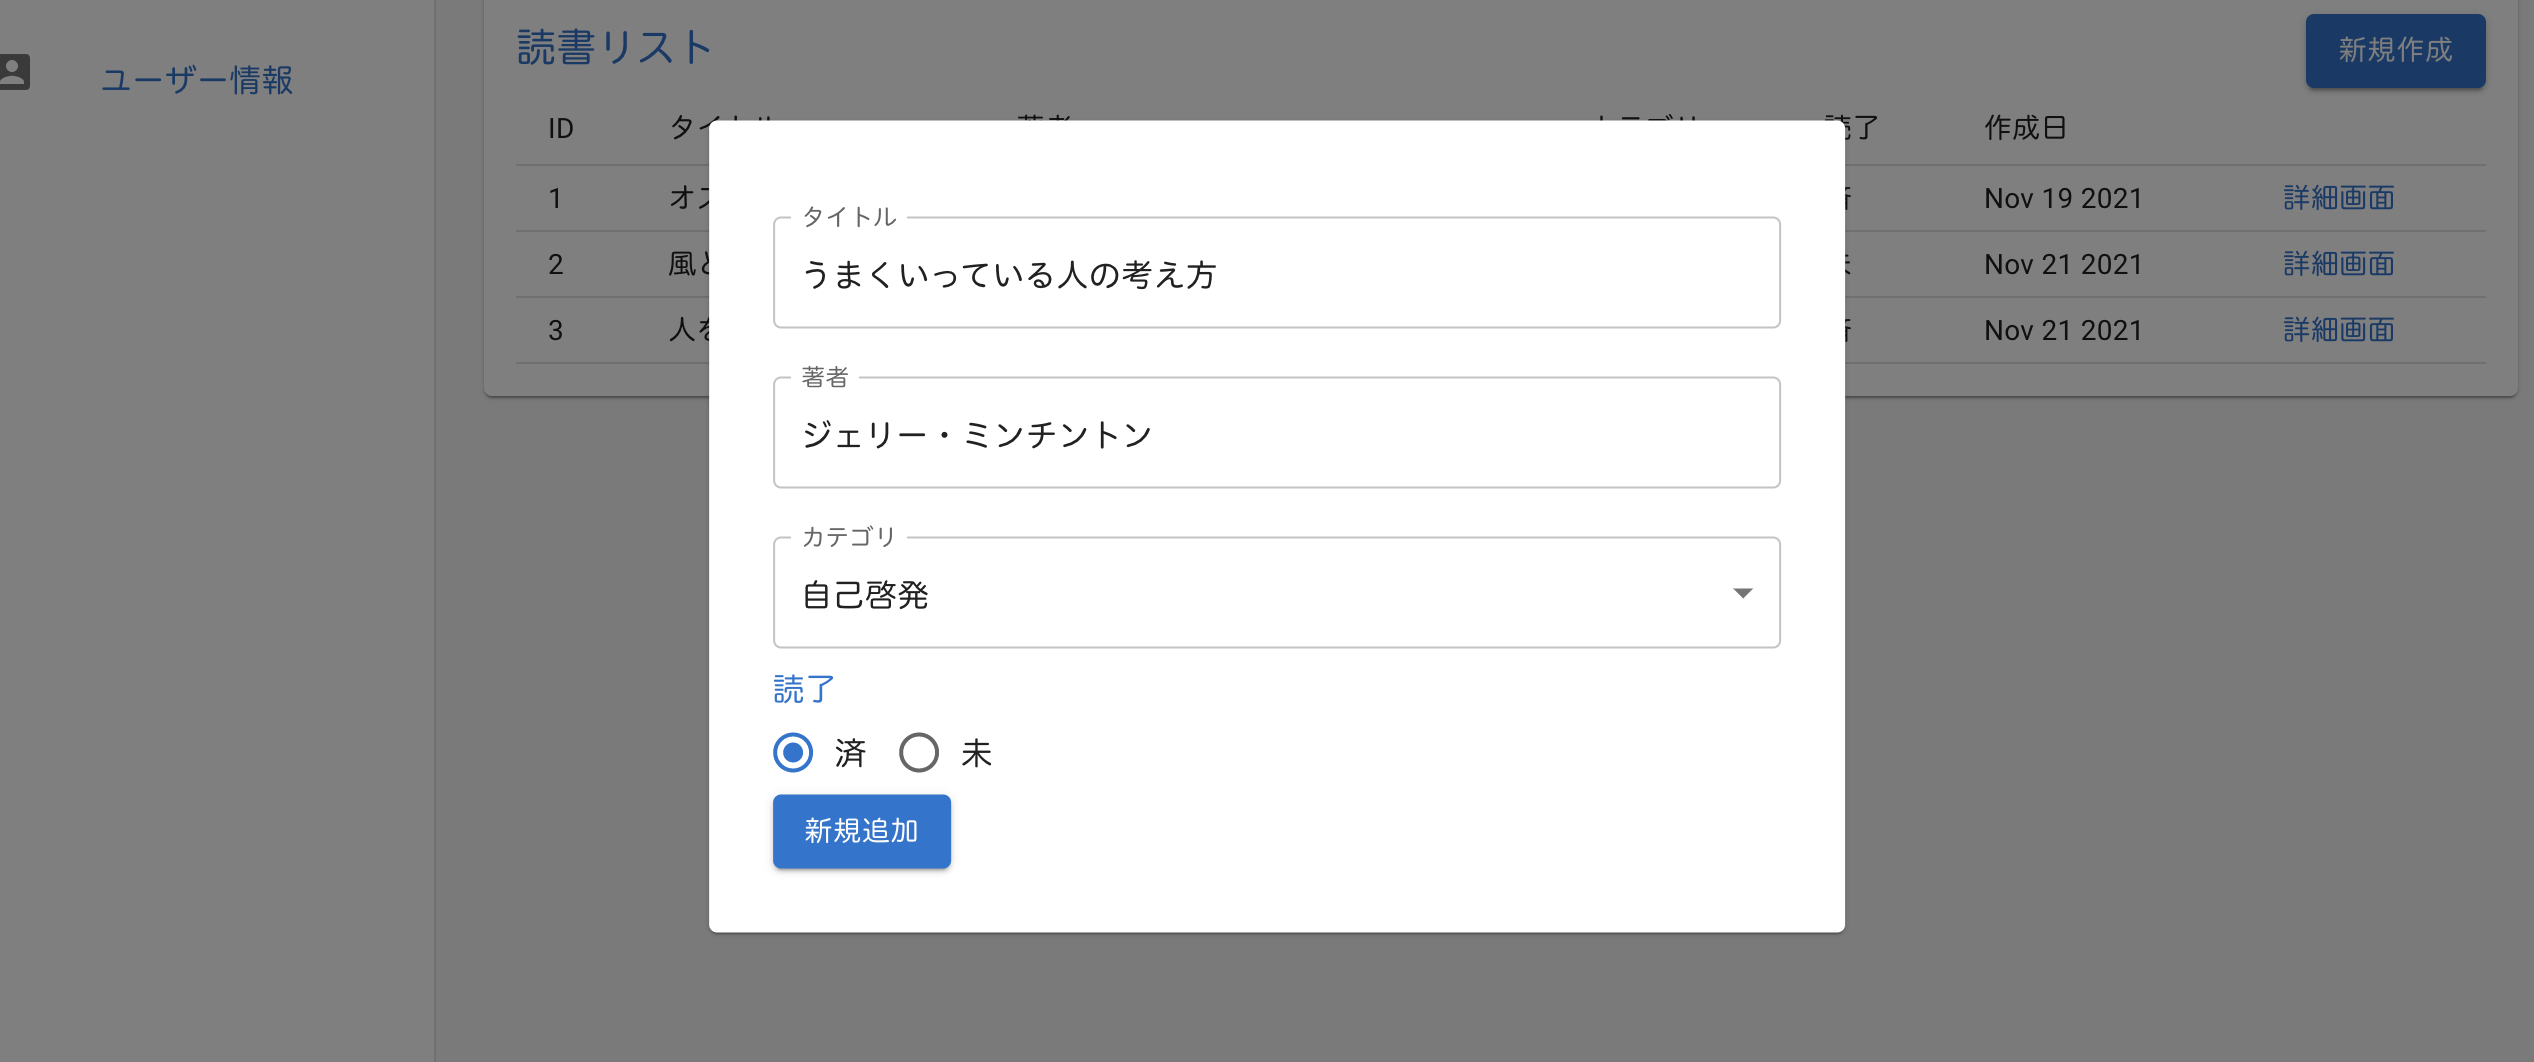
一通り完成したので、ブラウザで確認します。
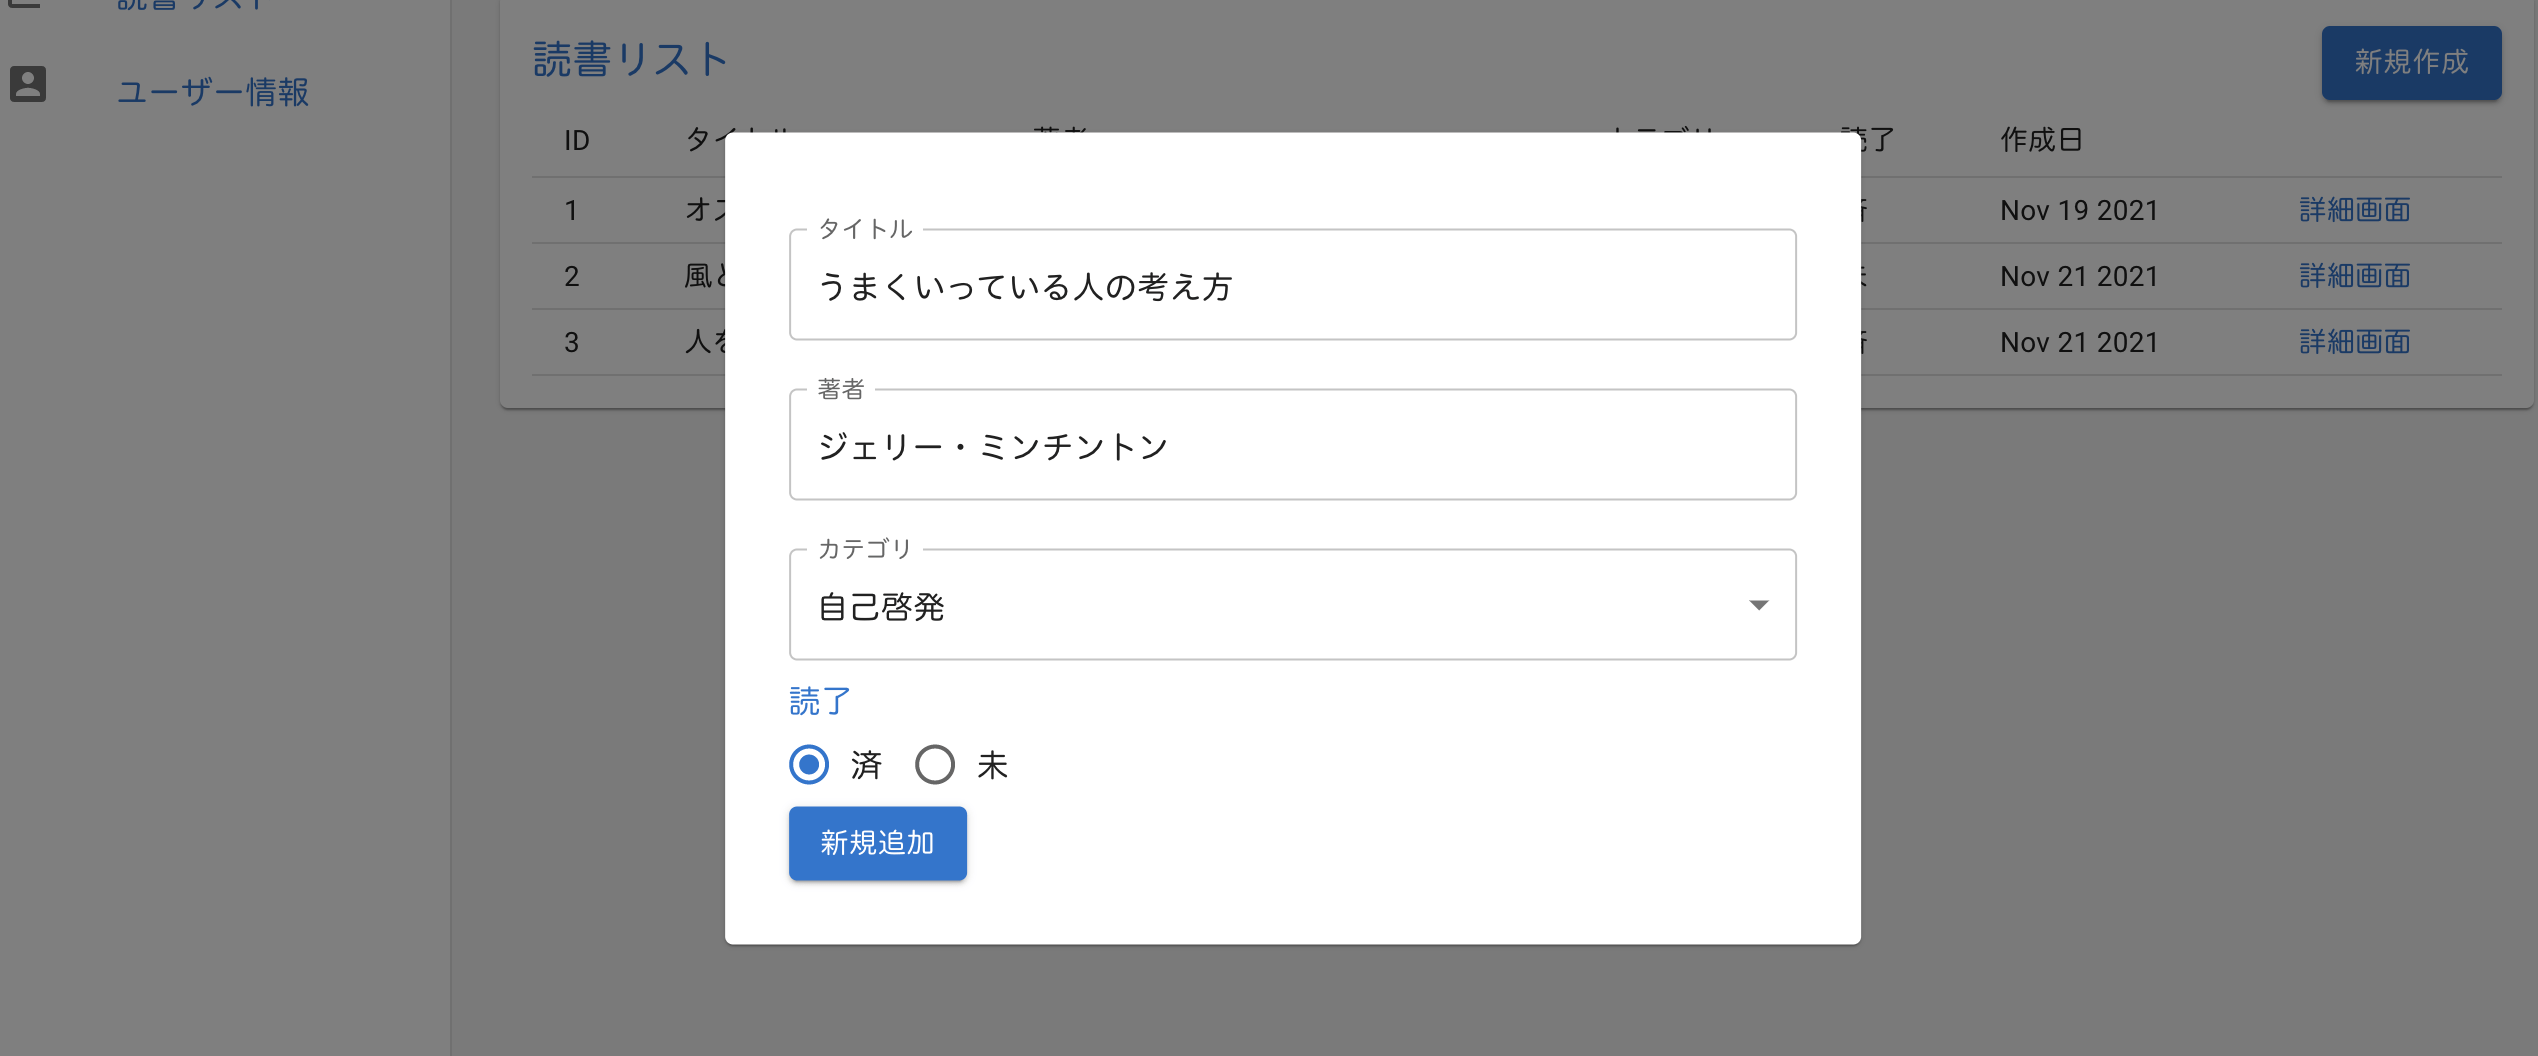
フォーム内にデータを入力して、『新規追加』ボタンをクリックした後、リロードします。
追加したデータが表示されました。
GraphQL にも反映されています。
コードの全文は、こちらです。
次回は、GraphQL のデータを削除・更新します。

【GraphQL】フロントエンドでGraphQLのデータを削除・更新する
お知らせ
私事ですが、Udemyで初心者を対象にしたReactの動画コースを作成しました。
Reactについて興味がありましたら、ぜひ下のリンクからアクセスしてください。
詳しくはこちら(Udemyの外部サイトへ遷移します)